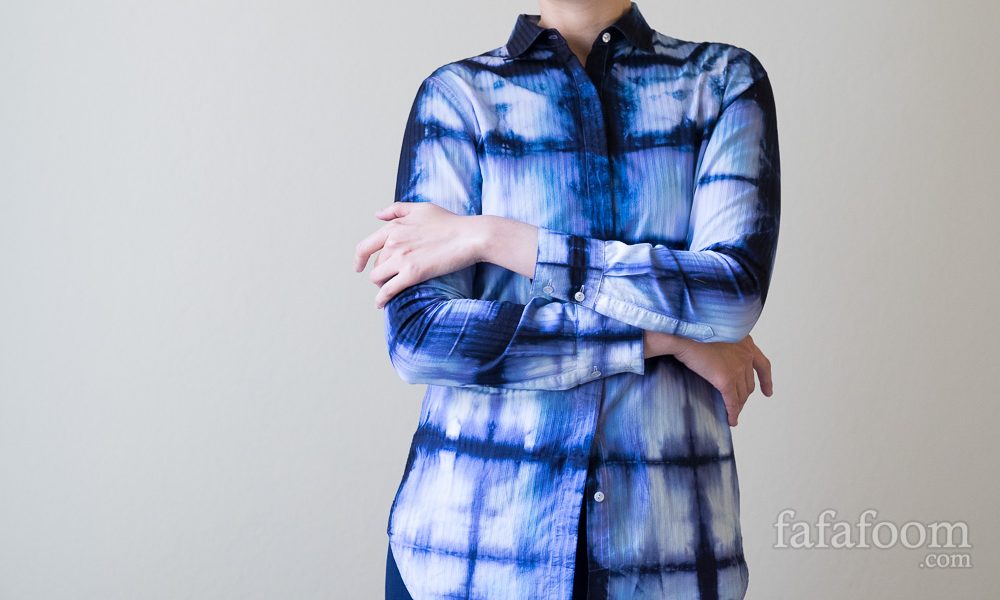
An exciting summer DIY project: giving an old white shirt a new life via DIY shibori dyeing project. This time, I used itajime method (square accordion folding technique), and the result is quite stunning! More importantly, I learned some lessons I’d like to share!
Summer is my favorite time to do the always popular shibori dyeing (resist dyeing) projects. It’s a great way to refashion / upcycle old garments, and the longer period of daylight means a more relaxed pace when doing it. Recently, on a bright Saturday, I was able to research, plan, do, and finish shibori dyeing a white dress shirt in several hours. Yay!
Subscribe to my newsletter

It’s been a few years since I did any kind of dyeing projects. The California drought was a strong deterrent, and my past mistakes made me hesitant.
However, I approached this latest DIY project more carefully this time. The result was definitely more satisfying than ever. The shibori method I chose was Itajime Shibori, which involves sandwiching square-shaped, accordion-folded garment between two pieces of wood squares. But I tweaked some things to do it my way based on available crafting tools I already have.
I absolutely love my newly refashioned dress shirt, and I’d love to share some lessons I learned from doing it. I hope they can be useful for you as well!

My Materials:
- an old Uniqlo white dress shirt (pictured left, before it’s dyed)
- 1 wood square sample and 2 tile squares (I got them from one of my Fabmo visits)
- 3 bottles of liquid Rit Dyes: Navy Blue, Ocean Blue, and Purple
- rubber bands for binding
- a pair of rubber gloves (to keep my hands free of dye stains)
- old pasta pot and stirring tool
- water (for obvious reasons of washing and creating dye bath)
- one cup of salt
- a small piece of paper towel
- lint roller
- seam reaper
- needle and thread (to resew buttons)
- raffia rope (optional)
7 Tips for Shibori Dyeing a Dress Shirt
1. Take off the buttons and clean your shirt
I washed my shirt with Professional Textile Detergent from Dharma Trading (a non-toxic alternative of Synthrapol) and hot water to get rid of any oil stains or any invisible dirt that might’ve clung to my shirt.
Moreover, I realized the shirt’s buttons can form unwanted circular patterns later during the dyeing, so I took off all the buttons with a seam reaper just after I hung my shirt to dry. My shirt has 12 buttons total.
While it might be troublesome to resew the buttons later on, it’s worth it. Trust me, dyeing the shirt without the buttons allowed me to control the resist dye result that much more. So bye buttons (for now)!

2. Take your time to fold it carefully
After my shirt is about 90% dry, I started folding and re-folding. This was the step I spent most time on, because the way I fold would directly dictate the dye resist result.
For almost an hour, I folded, unfolded, refolded, unfolded, and refolded my shirt to the point that I felt sorry for the shirt. In the end, I settled with folding the shirt lengthwise first, then widthwise to form stacked squares.
I tried to match up the already existing vertical lines texture of the shirt while folding lengthwise, and tried my best to do 90-degree corners when folding widthwise.
That’s the tl;dr version. Here’s the longer version:
First, do lengthwise accordion folds…
Starting from one side (I picked the right), I folded the sleeve towards the back, close to the side seam.

Then, I flipped the shirt to the front, and folded the front right side in half. The right side folding was done.


Careful not to unravel the already done folds, I did the same for the left side. This was how it looked like after it’s done.

Once I had both sides done, I folded once more towards the back roughly on the center.

At this time, I highly recommend matching the shoulder folds as much as possible ( for symmetry), as well as diligently unfold garment roll-ins on the seams.


…and then do widthwise accordion folds.
I used one of my square blocks to help me measure the length of one fold.

Then I just went from there, starting from the bottom of the shirt, and accordion-fold it towards the collar.

Tip: When I was folding, I used a lint roller to get rid of any rogue small solid particles / dirts I found clinging to the shirt. That way, I made sure there were no unwanted debris between the folds.
3. Sandwich and bind your shirt with your squares of choice
My square blocks consisted of sample wood blocks and tiles. The wood “square” was great because it consisted of four blocks with empty spaces in between.

I wanted to showcase those empty space, so I used that against the top part of the shirt. As for the tiles, I inserted one in the middle of the stack, and one at the bottom.

Once that’s done, I bound them with rubber bands.

The resulting block was rather heavy, and I needed to be able to dip the stack up and down in the dye bath, so I created a loop with a raffia rope. I made sure it’s long enough to keep my hand above the water at all times during the dye bath on the stove top.

4. No indigo dye kit, no problem!
Having an indigo kit for shibori dyeing is handy when you want to specifically achieve that beloved indigo color, but it’s not an absolute necessity. I happen to have several Rit Dye bottles handy, and I chose to combine 3 colors: navy blue, ocean blue (last used on a DIY shibori dyed skirt), and purple.

Following Rit Dye stove top dyeing method, I mixed roughly 1/2 cup of navy blue, 1/2 cup of ocean blue, and 1/4 cup of purple in the hot water. 5 minutes later, I added 1 cup of salt. Salt is meant to help set the dye, but some people are skeptical about salt’s effectiveness. That being said, I still added it in. Boy, one cup of salt is A LOT of salt.
Then I tested the color mix by dipping a piece of paper towel in the dye bath, and this was the result. Pretty, no?

My garment stack went in right afterwards. I stirred the bath constantly while raising and lowering my garment.
5. Invest in dye fixative detergent and be mindful of water consumption
After 30+ minutes of bicep exercise, I took out the garment fully from the dye bath water and slowly washed the still-folded and bound stack with Dye Fixative Detergent, also from Dharma Trading.

It’s easy to waste water during this step, so I highly recommend to do your best to conserve water and be conscious about the volume and speed of water flowing out of the faucet. I chose to cut down the washing time to 5 minutes (instead of 15 – 20 minutes).
Here’s also what I chose to do for garment care:
- To minimize color bleeding, I will not to wash the shirt too often and do spot cleaning instead.
- To keep it looking crisp for each wear, I iron the shirt to each time I want to wear it.
- To keep it smelling fresh, I will use my garment steamer and/or freezer to get rid of unwanted odor.
6. Take your time while unfolding
After washing, I highly recommend unfolding the stack slowly. It felt like opening a present!!!

It’s so lovely to see how the wood square created additional white strips on the shoulders. The color combination also bled beautifully around the untouched white parts of the shirt.


This was how the shirt looked like right after washing and unfolding. I really love how the three different colors blend and complement each other. That was such a pleasant surprise to me!


7. Last but not least, remember to resew the buttons and enjoy the new shirt!
After the shirt was dry, I resewed all 12 buttons back. It took a bit while, but this was the point where I was silently patting myself in the back for taking out the buttons in the first place. After finished hand stitching the buttons, I ironed the shirt, and immediately tested it! It’s quite beautiful, I must say :)


To date, I wore it in three different occasions already, and it never failed to attract compliments. I’m so glad this worn-out white Uniqlo shirt got a new lease on life again!


Have you done shibori dyeing projects lately? It’s so much fun, right? I definitely enjoyed the process thoroughly, and I hope you find one or two shibori dyeing tips from this post that will be useful for you!
Thanks for reading; until next time,
Musank
Disclaimer: I may earn a small commission for my endorsement, recommendation, testimonial, and/or link to any products or services from this website. Thank you for your support!
Never Miss a Post
Enter your email below to receive the latest Fafafoom Studio post in your inbox.
Browse more posts
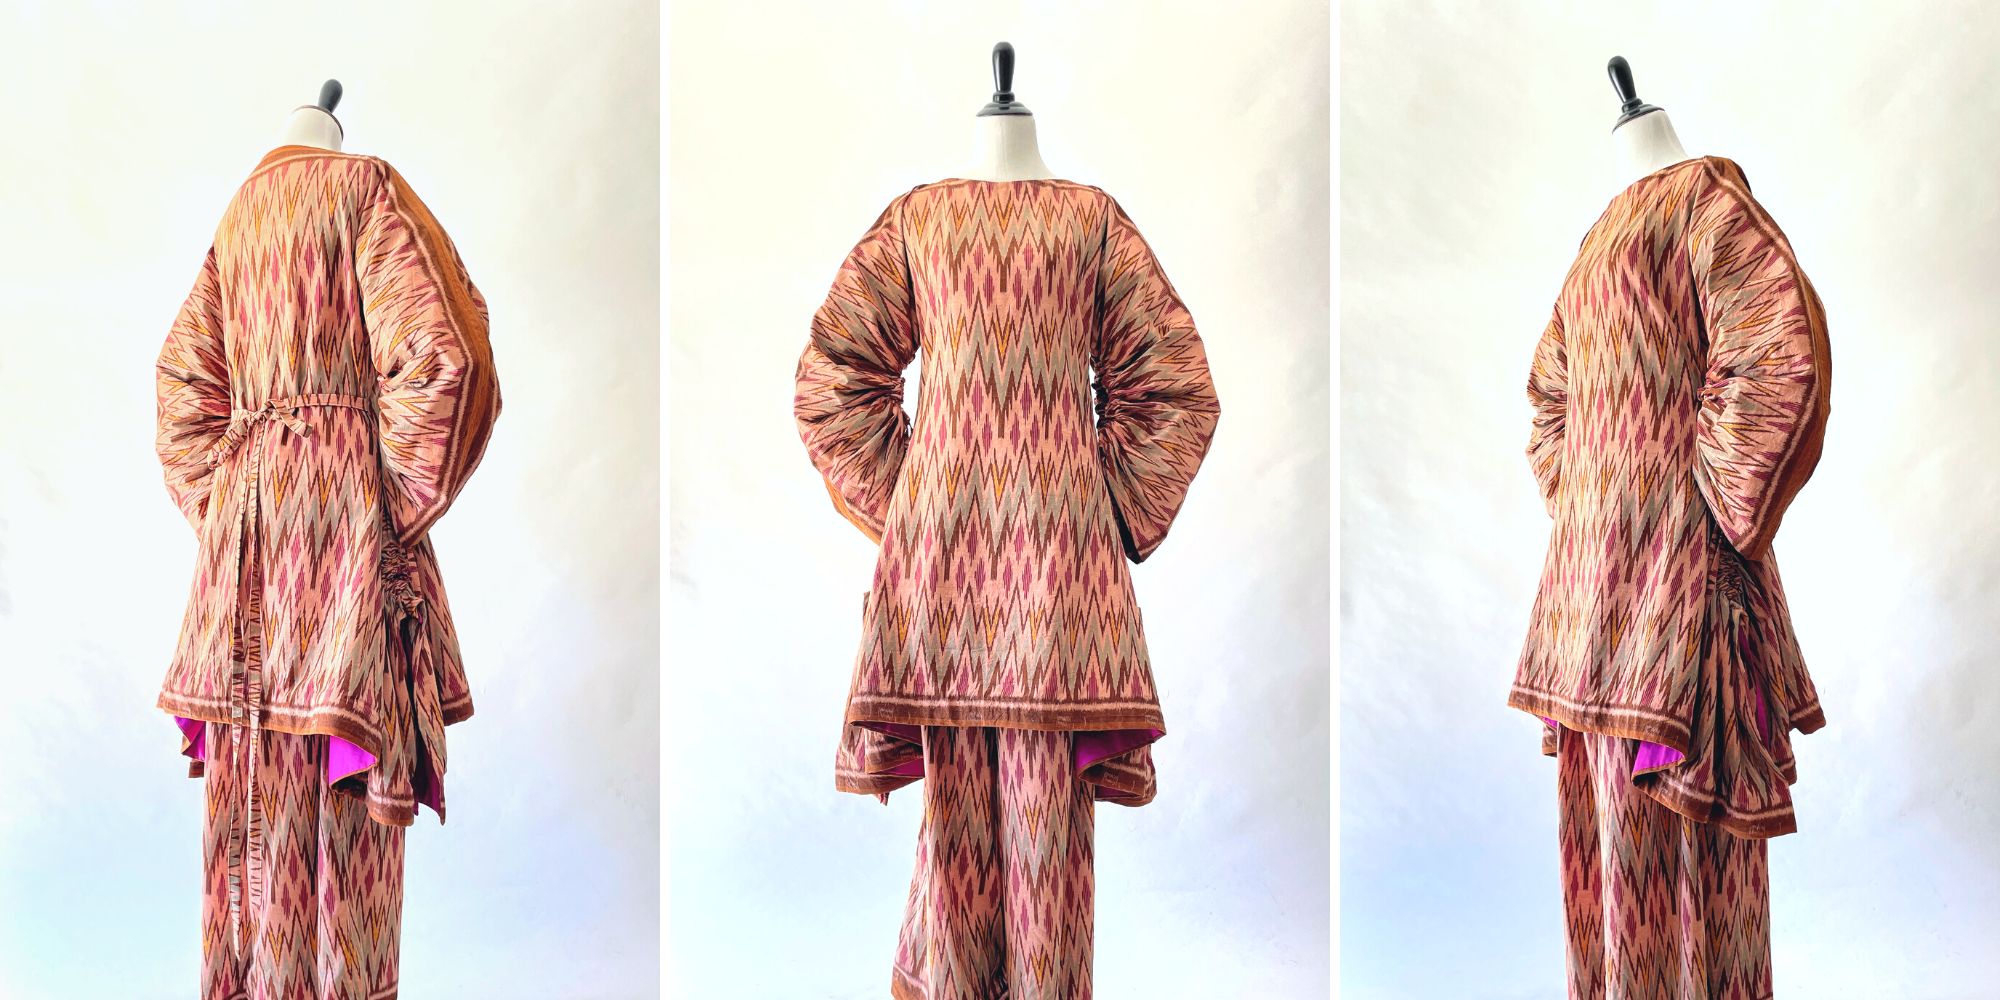
Interpreting Kebaya, Making a Modern Ethnic Ensemble
Modern Ethnic outfit is my interpretation of kebaya dressing. They are made using vintage ikat textile and inspired by several free minimal-waste patterns. Only on fafafoom.com.
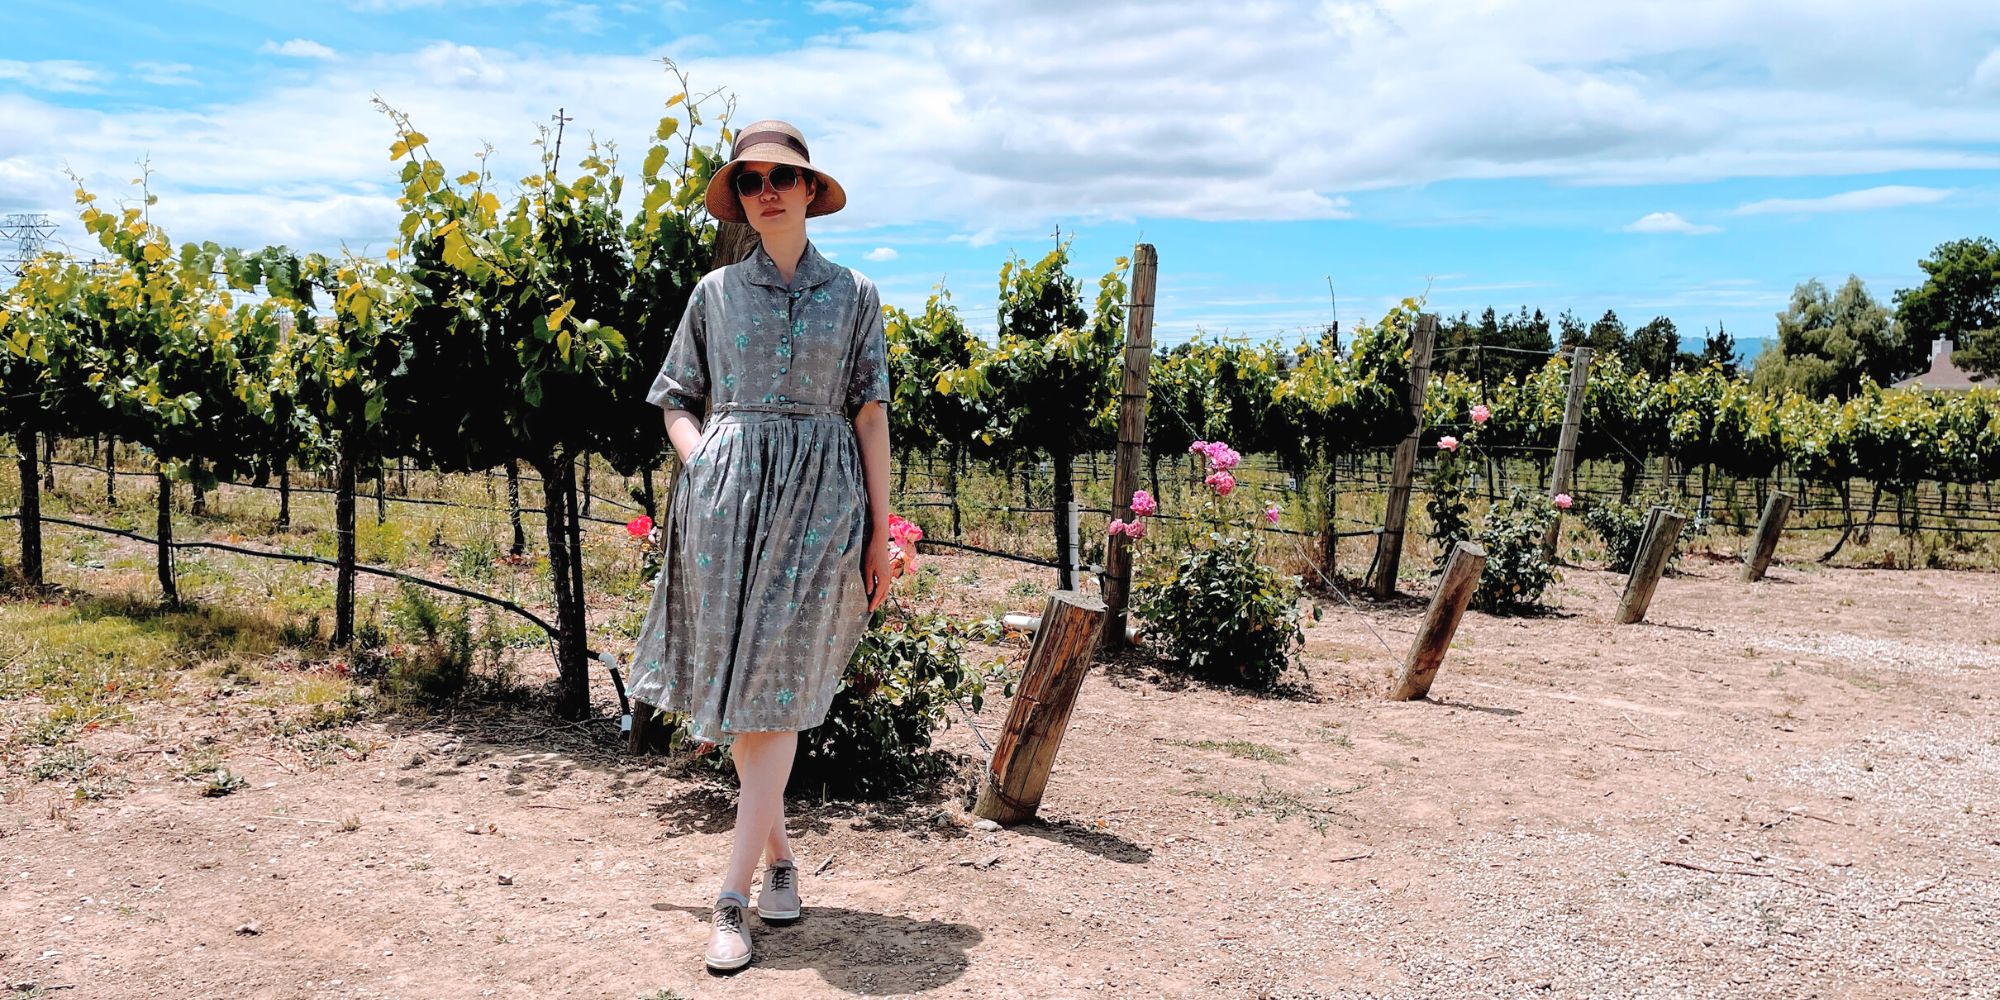
Restoring a 1950s Atomic Age Dress
Restoring and repairing a beautiful 1950s Dress for my summer 2022 wardrobe. Smart alterations include lining and inseam pockets. Only on fafafoom.com.
Pink Delight! Natural Dyeing with Camellia Flowers
My next experiment is dyeing with camellia flowers. Amongst all natural dyeing projects I have done so far, this is my favorite. Check out the pink delights! From fafafoom.com.
5 Slow Fashion Tips for a More Sustainable Wardrobe
Five slow fashion tips to help you transform your sustainable wardrobe for a cleaner, greener future. A guest feature from Reese Jones for Fafafoom.com.
Upcycling and Repairing Ideas for Garden Decor
The garden has become a special place, especially during Covid-19 pandemic. During shelter-in-place period, I made garden decors by upcycling locally sourced items.
Natural Dyeing with Japanese Maple Leaves: Notes from a First-timer
Notes from my first natural dyeing experiment with Japanese maple leaves in fall season. Three batches of dyeing using fallen leaves sourced from two different trees in the garden. So much to learn and enjoy afterwards.

Trackbacks/Pingbacks