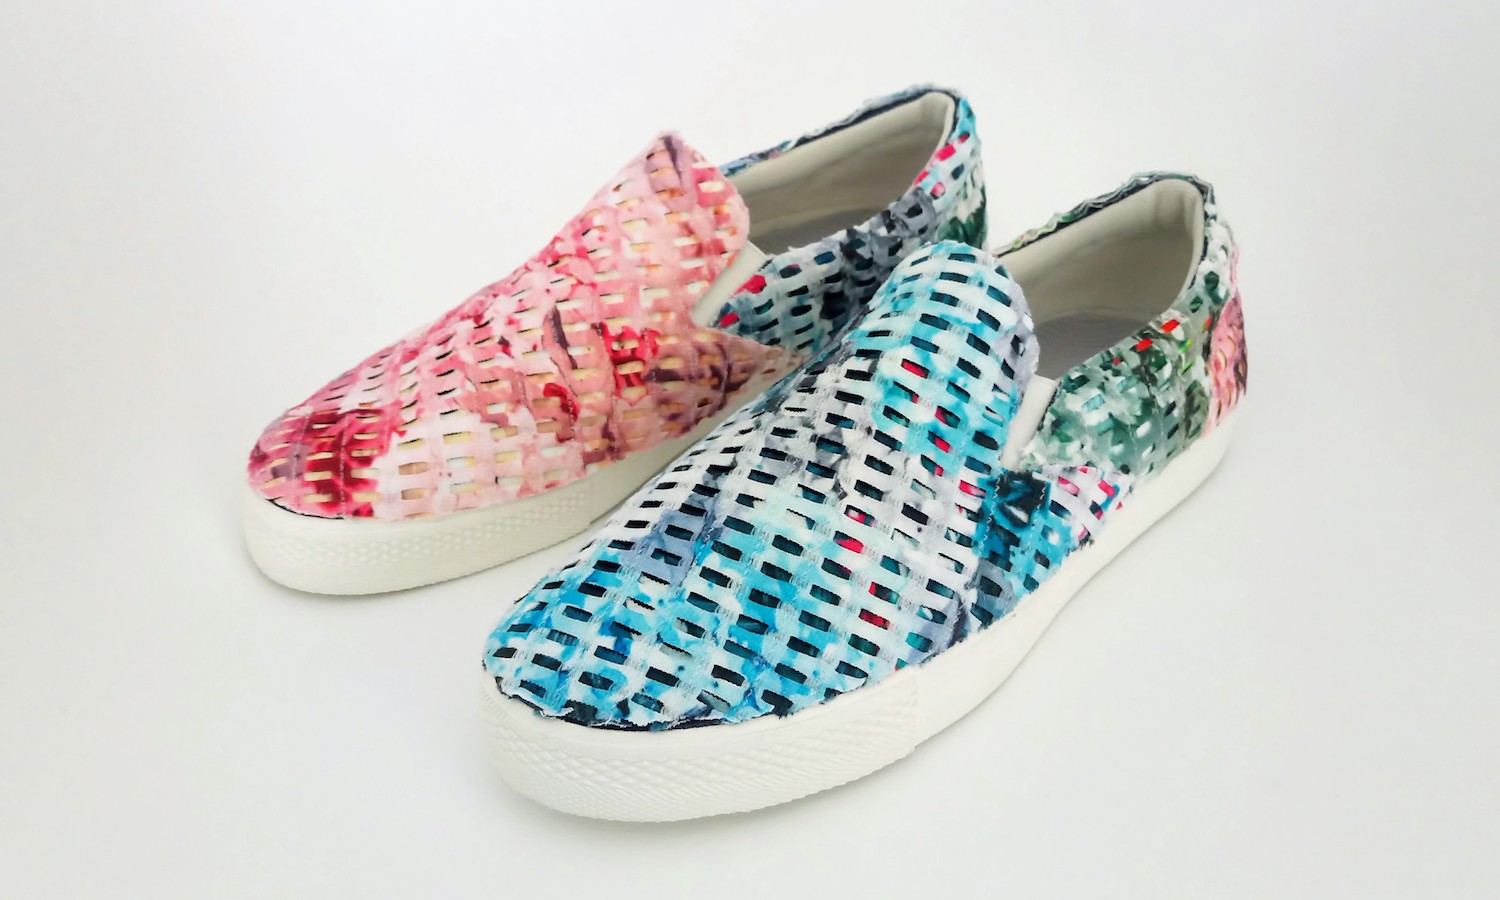
This pair of fabric collage shoes look fresh, stylish, and so comfortable to wear. The fabric collage covers were made with 6 pieces of perforated, printed synthetic fabric samples. They left bloody trails of destruction during its construction, but it’s all worth it for shoes this good-looking!
Ever since my pair of fabric covered oxford shoes deteriorated so much that I had to store it in a box, I had been craving to make a replacement. So I got myself a pair of basic trainers from MUJI (it was on sale) and it’s so comfortable to walk around on.

That pair of trainers stuck around for a while in my closet. Pinning down the timing to make this DIY project was tricky. There’s always too many things to do and not enough time. As it turned out, my many detours of doing Textile Foundations class provided the right opportunity. Creating fabric collage pieces to cover the shoes sounded fresh, and it’s an improved way of doing fabric accent personalization.
Transforming a pair of denim colored canvas trainers with several fabric sample pieces took a great deal of time. It’s because most of the process was done with hand stitching instead of machine stitching or glueing. The process became rather bloody (more on that later), but it’s worth it.
The resulting fabric collage shoes look really fresh and playful, perfect for so many walking trips. Also, there was enough fabric remnants afterwards, so I made a tetrahedron bag with them.
List of Materials:
- a pair of canvas trainers
- 6 pieces of perforated printed synthetic fabric samples (around 12″ x 10″)
- tracing paper and cotton fabric scrap for pattern copying
- transfer paper and tracing wheel
- pencil and tailor’s chalk for pattern transfer
- sewing machine (mine is Brother CS6000i model)
- ball point needle (I highly recommend Schmetz Ball Point Jersey Machine Needles, Size 80/12) for their strength and durability)
- needle and thread for hand sewing
- a thimble
- a pair of fabric scissors

Subscribe to my newsletter
The Process:
Below are the 6 fabric samples I chose for this project. Since they are perforated, I layered and stitched two pieces together in a way that there are no more see-through sections. I repeated that twice. This was rather time consuming; I machine stitched each “column” between the holes.


With tracing paper, I made pattern drafts of the sections I’d like to cover with the layered fabric pieces.

Then, I transferred the three pattern pieces to the cotton fabric to confirm their accuracy. I adjusted their measurements as necessary.


Once the patterns were accurate, I transferred the final patterns to the layered fabric pieces. I arranged the left shoe to have blue, green, pink fabric covers from the front to back. The right shoe has pink, blue, and green covers.

From here, the layered fabric pieces are sewed on to the shoes by hand. This was when it got bloody. During this step, two needles broke, one got bent badly, and I had one or two bloody fingers. The denim fabric was tough to pierce through, however the shoes looked better with each sewn piece, so that kept me going until they were all done.


The Result of DIY Fabric Collage Shoes:
Woo, it’s all done! I had a bandaid on my two fingers, but that’s it! The fabric collage shoes look fresh and perfect for sunny weather or any sunny occasions. There were fabric remnants from this project, and I used them to create a matching tetrahedron bag.


So there you have it! So far I have been wearing this pair of fabric collage shoes several times, and I’m looking forward to wear them for many years to come. I hope this post is useful for fellow DIYers and crafters who’d like to add more personalized touch to their shoes.
Thanks for reading; until next time,
Musank
Disclaimer: I may earn a small commission for my endorsement, recommendation, testimonial, and/or link to any products or services from this website. Thank you for your support!


Trackbacks/Pingbacks