When something went terribly wrong in a refashioning plan, I chose to wing it and see what emerged at the end of the tunnel. In this case, I was struck with the extend of damage bleach dipping had done to my silk shirt and decided to destroy it a bit further before repairing it, accidentally giving form to my very own boro shirt.
The term ‘boro’ comes from Japanese word “boroboro” that means repaired tattered textiles. Edo era’s farmers hand patched their tattered clothing with layers of scraps so they can be worn longer while adding more warmth. Once symbol of poverty, ’boro’ practices have become more popular. Many creatives are enchanted with it, even get familiar with sashiko hand stitching for decorative reinforcement purposes in clothing repair.
If you’re interested in learning more about boro textiles, I recommend checking out Japan Society’s Boro Textiles exhibition. The New York exhibition closed prematurely due to COVID-19, but you can see the program and watch the multi-part video tour online. Highly recommended.
In this post, I will use words more sparingly. If you follow me on social media, you’d know this isn’t the first time I posted about this bro shirt project. Many of you are requesting pictures, so here they are! Pictures are worth a thousand words, so I only include essential information surrounding what I did during the process for context.
That said, feel free to ask me questions! Either in comment section or social media channels, you know where to find me :)
Subscribe to my newsletter

The Accident
The plan was to do a random bind resist dyeing project with an already-refashioned-once Uniqlo silk shirt. That time, I hand stitched ribbon lace cut outs onto the shirt as appliqué pieces around the top part of the blouse. I thought introducing more textural interest to the rest of the blouse would make the shirt more exciting.
For some reason, I forgot the shirt was made of silk. I thought about randomly binding the shirt with a raffia rope and dunking it i briefly in a bleach solution. I was expecting a reverse bind resist dyeing result.


Yes, it was awful. Within seconds, the shirt began to disintegrate and I immediately realized my mistake. I took it out and tried my best to neutralize it before laying it flat to dry. The damages started to reveal themselves, from discolored ribbon color to holes.
However, before I truly assess the bleach damage and plan next steps, I decided to ruin the shirt a little further by spraying some Discolourant Mist all over the shirt and a bit of a Decolourant Paste around the right collar. I got both products from Dharma Trading.


Assessment of Damage
Here’s what the shirt looked like after all chemical reaction was done. At this point, the shirt already looked so much cooler than ever and I decided to do my best to repair it, no matter how long it takes.


The Repair
I started gathering fabric remnants that were either rescued, gifted, or bought to repair the shirt. They include a mix of jacquard cotton kimono remnants from Japan, printed mesh, vintage lace, silk blend, jacquard polyester blend, and solid polyester scraps. I also used leftover ribbon lace remnants from the first refashion project.
After making sure the bleaching effect didn’t continue to ruin the shirt (Dharma Trading also sell that Stop Bleach solution), I stiffened the shirt by immersing it in a mix of water-soluble stabilizer scraps and water. This made the shirt to have a paper-like stiffness and easier to work with.
Depending on where the patches are placed, I sometimes layered the remnants together before applying. I started with the biggest holes and around the button placket first, using mainly machine sewing (lockstitch and zigzag stitch).


Other big holes around the back yoke were patched using both machine sewing (lockstitch) and hand stitching (backstitch).


After the most vulnerable areas of the torso were patched, smaller holes were next. Sometimes I used small scraps of weft interfacing for reinforcements in high stress areas.


The sleeves were in tatters, they both needed extensive fine needle pinnings before I got started. Progress was slow, but I was determined and they all got patched up slowly but surely by hand stitching (backstitch or sashiko stitch).


The stiffness held remarkably well during the on-and-off repair sessions. This is what the shirt looked like after the sleeves were fully patched up.


Accidentally Boro Shirt
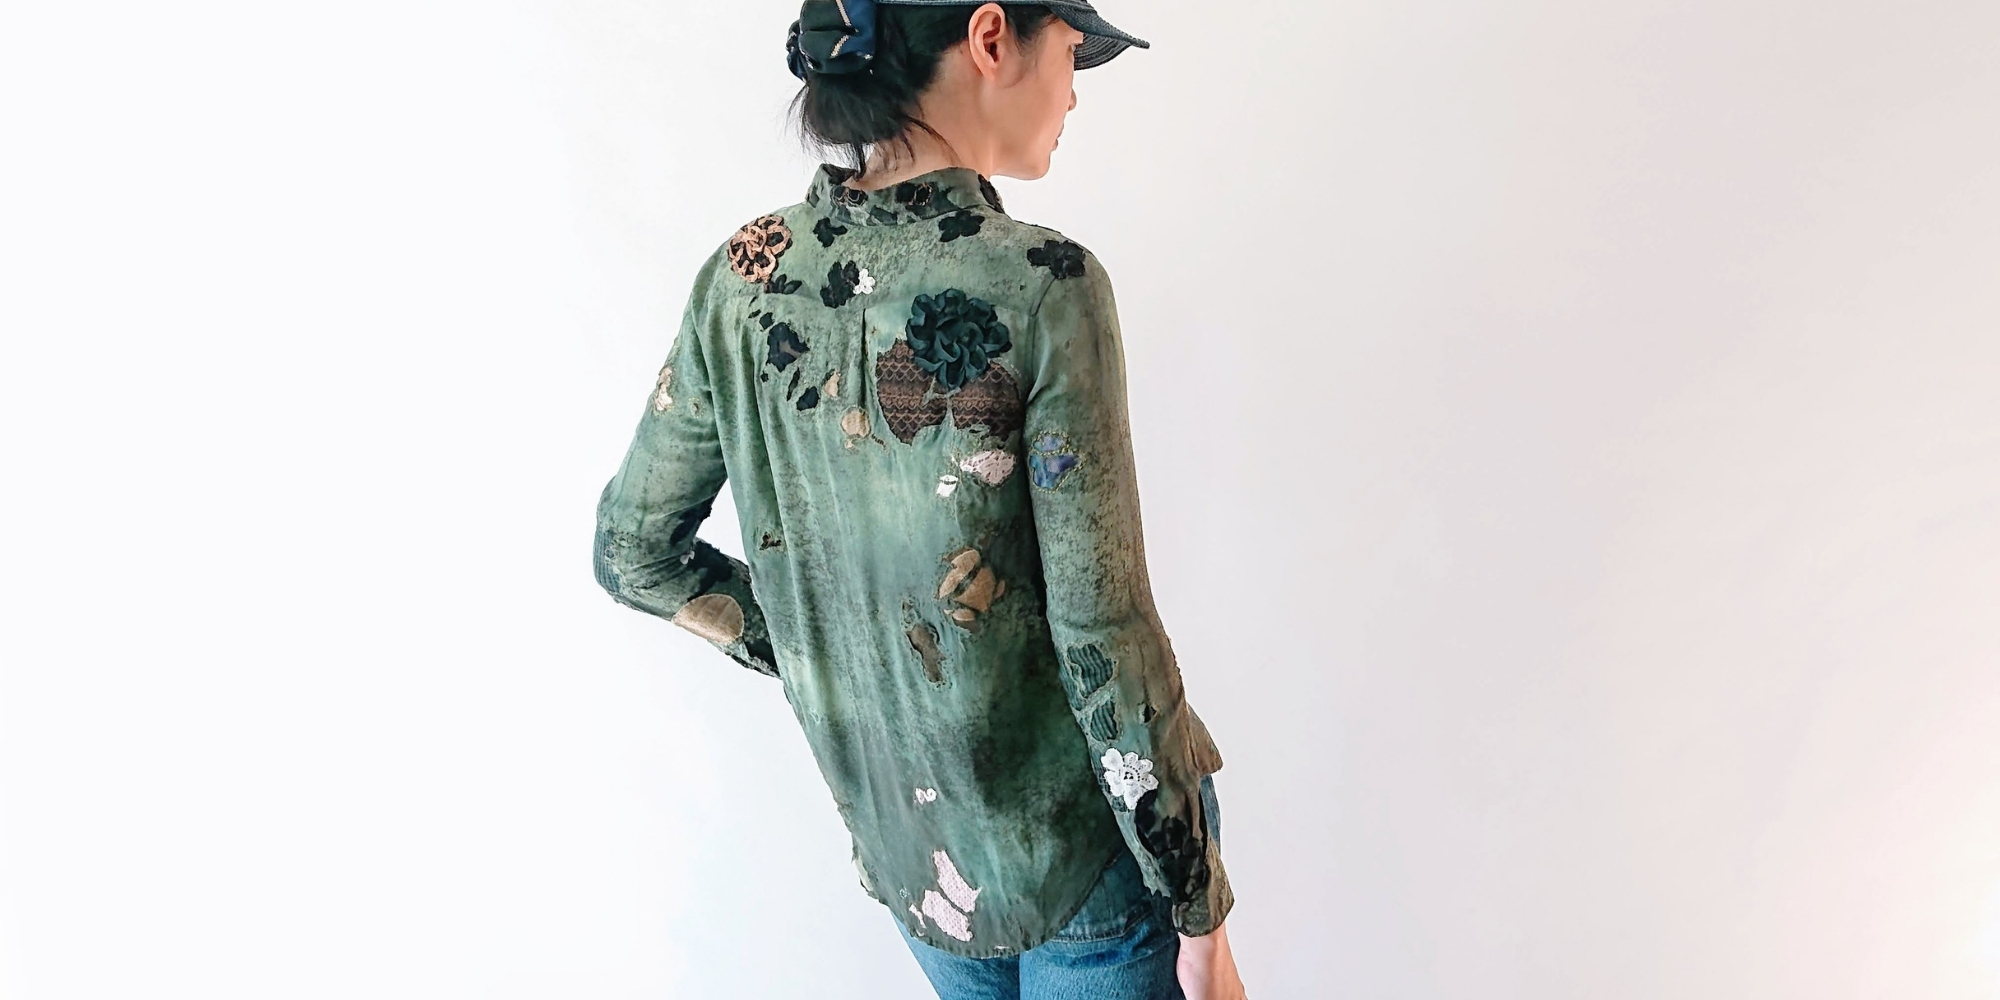
After a year or so of on-and-off repair, the shirt was 99% repaired and hand washed very carefully to get rid of the stiffness. When I took the pictures below, I found minor holes and new tears around the sleeves that needed to be repaired.


The shirt isn’t worn that often – it’s quite fragile. But I do wear it from time to time. I’d fix any tears or holes I found whenever I wear the shirt.
Here’s a glimpse of what the inside looks like as of time of writing.


Wearing Boro Silk Shirt
And here’s what it looks like on my body. Perhaps you’d be able to sense the fragility of this boro shirt better when contrasted with sturdy denim jeans and hat.


So there you have it! What do you think about this boro shirt made “by accident”? I probably would not have any boro shirt if not for that fatal mistake of bleach dipping. Considering how much time it takes, I am reluctant to call it a happy accident. Nevertheless, the journey was worth it.
Would you make a boro shirt of your own? Or maybe you have started one already but currently setting it aside? If so, take your time. I hope you can enjoy your own boro creation one day.
Thank you for reading, until next time,
Musank
Disclaimer: I may earn a small commission for my endorsement, recommendation, testimonial, and/or link to any products or services from this website. Thank you for your support!
Subscribe to my newsletter
Browse more posts
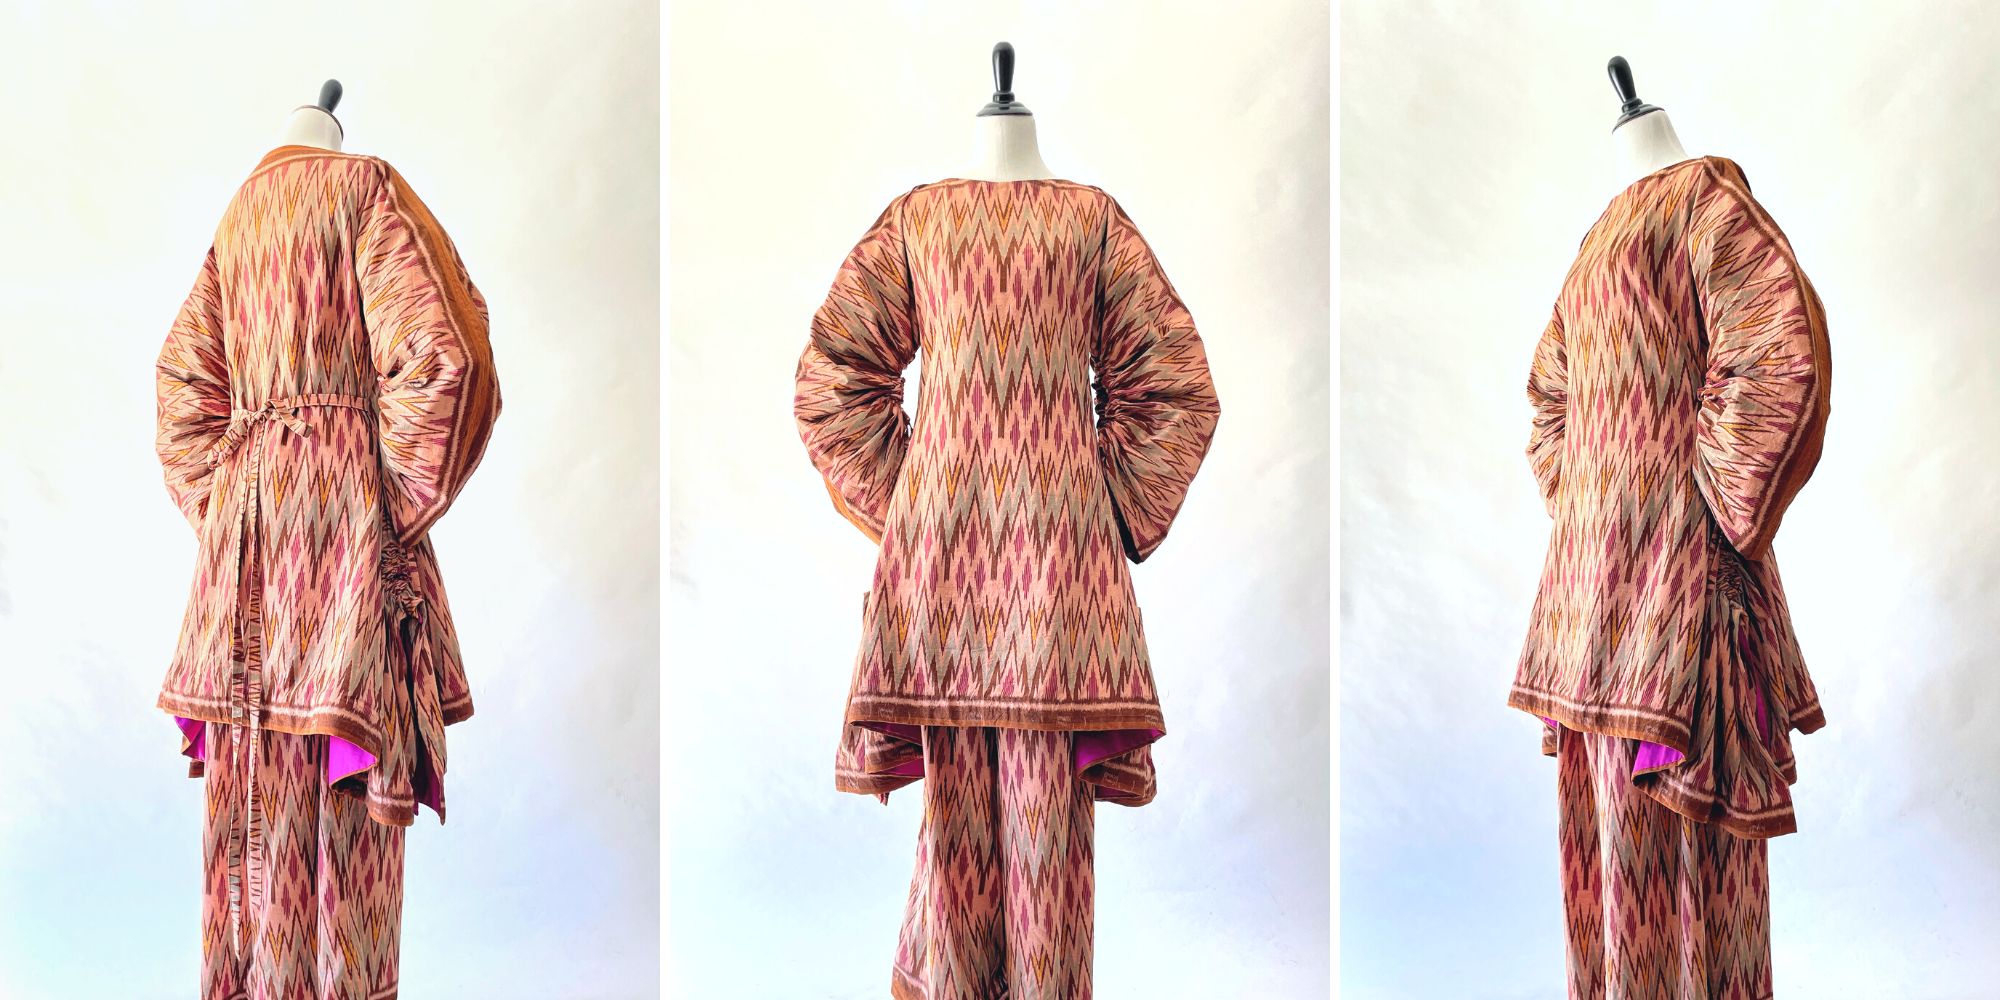
Interpreting Kebaya, Making a Modern Ethnic Ensemble
Modern Ethnic outfit is my interpretation of kebaya dressing. They are made using vintage ikat textile and inspired by several free minimal-waste patterns. Only on fafafoom.com.
Restoring a 1950s Atomic Age Dress
Restoring and repairing a beautiful 1950s Dress for my summer 2022 wardrobe. Smart alterations include lining and inseam pockets. Only on fafafoom.com.
Pink Delight! Natural Dyeing with Camellia Flowers
My next experiment is dyeing with camellia flowers. Amongst all natural dyeing projects I have done so far, this is my favorite. Check out the pink delights! From fafafoom.com.
5 Slow Fashion Tips for a More Sustainable Wardrobe
Five slow fashion tips to help you transform your sustainable wardrobe for a cleaner, greener future. A guest feature from Reese Jones for Fafafoom.com.
Upcycling and Repairing Ideas for Garden Decor
The garden has become a special place, especially during Covid-19 pandemic. During shelter-in-place period, I made garden decors by upcycling locally sourced items.
Natural Dyeing with Japanese Maple Leaves: Notes from a First-timer
Notes from my first natural dyeing experiment with Japanese maple leaves in fall season. Three batches of dyeing using fallen leaves sourced from two different trees in the garden. So much to learn and enjoy afterwards.


What the world would be like if more people let them selves go and be so caring like yourself* Thank you for sharing your beautiful passionate work*