For my second wedding celebration to the same man, my beloved Chris, I want to add a personal touch to my bridal attire. I decided to make this DIY birdcage veil with flowers, which turns out to be a fun DIY project that gives the perfect finishing touch to my wedding outfit.
Ever since I decided on my second wedding gown, I got so many ideas on the accompanying birdcage veil. Buying the birdcage veil that I wanted would cost me around $160, and it’s such a no-brainer to just make it myself!
And why not? There are so many great savvy brides out there making and sharing their wedding DIY birdcage veil results, it’s certainly exciting to learn from these amazing ladies and get my own twist!
Subscribe to my newsletter

Materials
My warmup exercise for making the flowers to sweeten the birdcage veil was the 4th flower accessory featured on the post I published before I departed for my travel. On that accessory, I only used one midweight fabric for the whole flower.
However, for this wedding, I used three different lightweight fabrics to project that airy, soft feeling. I initially had a slightly different fabric ideas in my head, but I had to adjust myself to the fabric options available on the local fabric stores’ fabric remnants racks.
Therefore, I finally chose ivory tulle, shiny ivory satin polyester, and ivory lace organza. There was slight color shade variation between all three (as well as the ivory netting I used for the birdcage veil part), however when combined together, they exuded that softness that matches really well with the wedding gown.
Other than the three lightweight fabrics, I also needed scrap paper for the flower pattern, scissors / rotary cutter, french netting for the birdcage veil, bobby pins and one alligator clip. Last but not least, needle and ivory thread.
Once again, I used the flower patterns available on Martha Stewart Weddings and used the small and medium sizes for the peony pattern.
Process Overview
Cutting the delicate fabrics were rather difficult to do with scissors, so I used my rotary cutter instead. It does the trick really well AND make the process so much faster.

Here’s how the three stacks look like after the rotary cutter was finished for the day. This is for one of the small-sized flower.

One pack was organza (bottom), shiny polyester (middle), and tulle (top). I layered 3 packs to make one flower stack before I folded and stitched them together like what Hip Hostess did.
After the flower is done and before I attached it to a bobby pin, I tested its placement angle on my hair.

Then, I made the bigger flower with the bigger pattern. The first picture below gives you a perspective in the size difference between the two patterns, the second one shows the finished flower, and the third showcases the two flower sizes. I ended up with one medium-sized flower and two small-sized flowers, each of them attached to a bobby pin by stitching.


Making the birdcage veil itself was a straight-forward process; 17apart.com shared a detailed, easy-to-use tutorial for making it. It took me less than 10 minutes to cut and gather the 9″ ivory netting, and a little bit more time to do final adjustments around my head and sew the veil on an alligator clip.
When I was making the veil part, I was so excited on how fast it took me, so I had no decent photo displaying the final result, but here it was when I was making the adjustment mid-way (agh, sorry for this!!):

Result: Wedding Birdcage Veil with Flowers
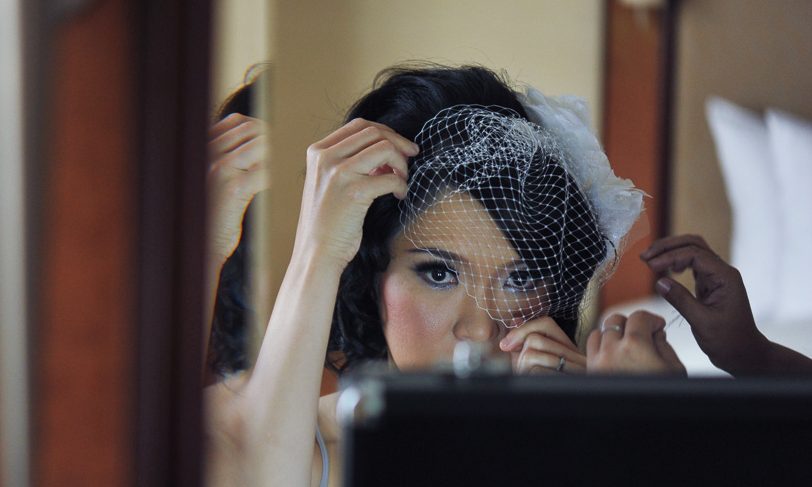
During my makeup test session, we were playing around with several hair arrangements. This was what was proposed first. It’s a pretty arrangement, but…

…I wanted a bit more glamor, so this was EXACTLY what I wanted…


…and the rest is history.

I really love the result, and I might make more for my friends…or just for fun, who cares? After all, there are so many more great birdcage veil ideas out there (hello ohcrafts.net!)
So what do you think? Did you also make your own wedding veil yourself? Or will you?
Thanks for reading; until next time,
Musank
Disclaimer: I may earn a small commission for my endorsement, recommendation, testimonial, and/or link to any products or services from this website. Thank you for your support!
Never Miss a Post
Enter your email below to receive the latest Fafafoom Studio post in your inbox.
Browse more posts
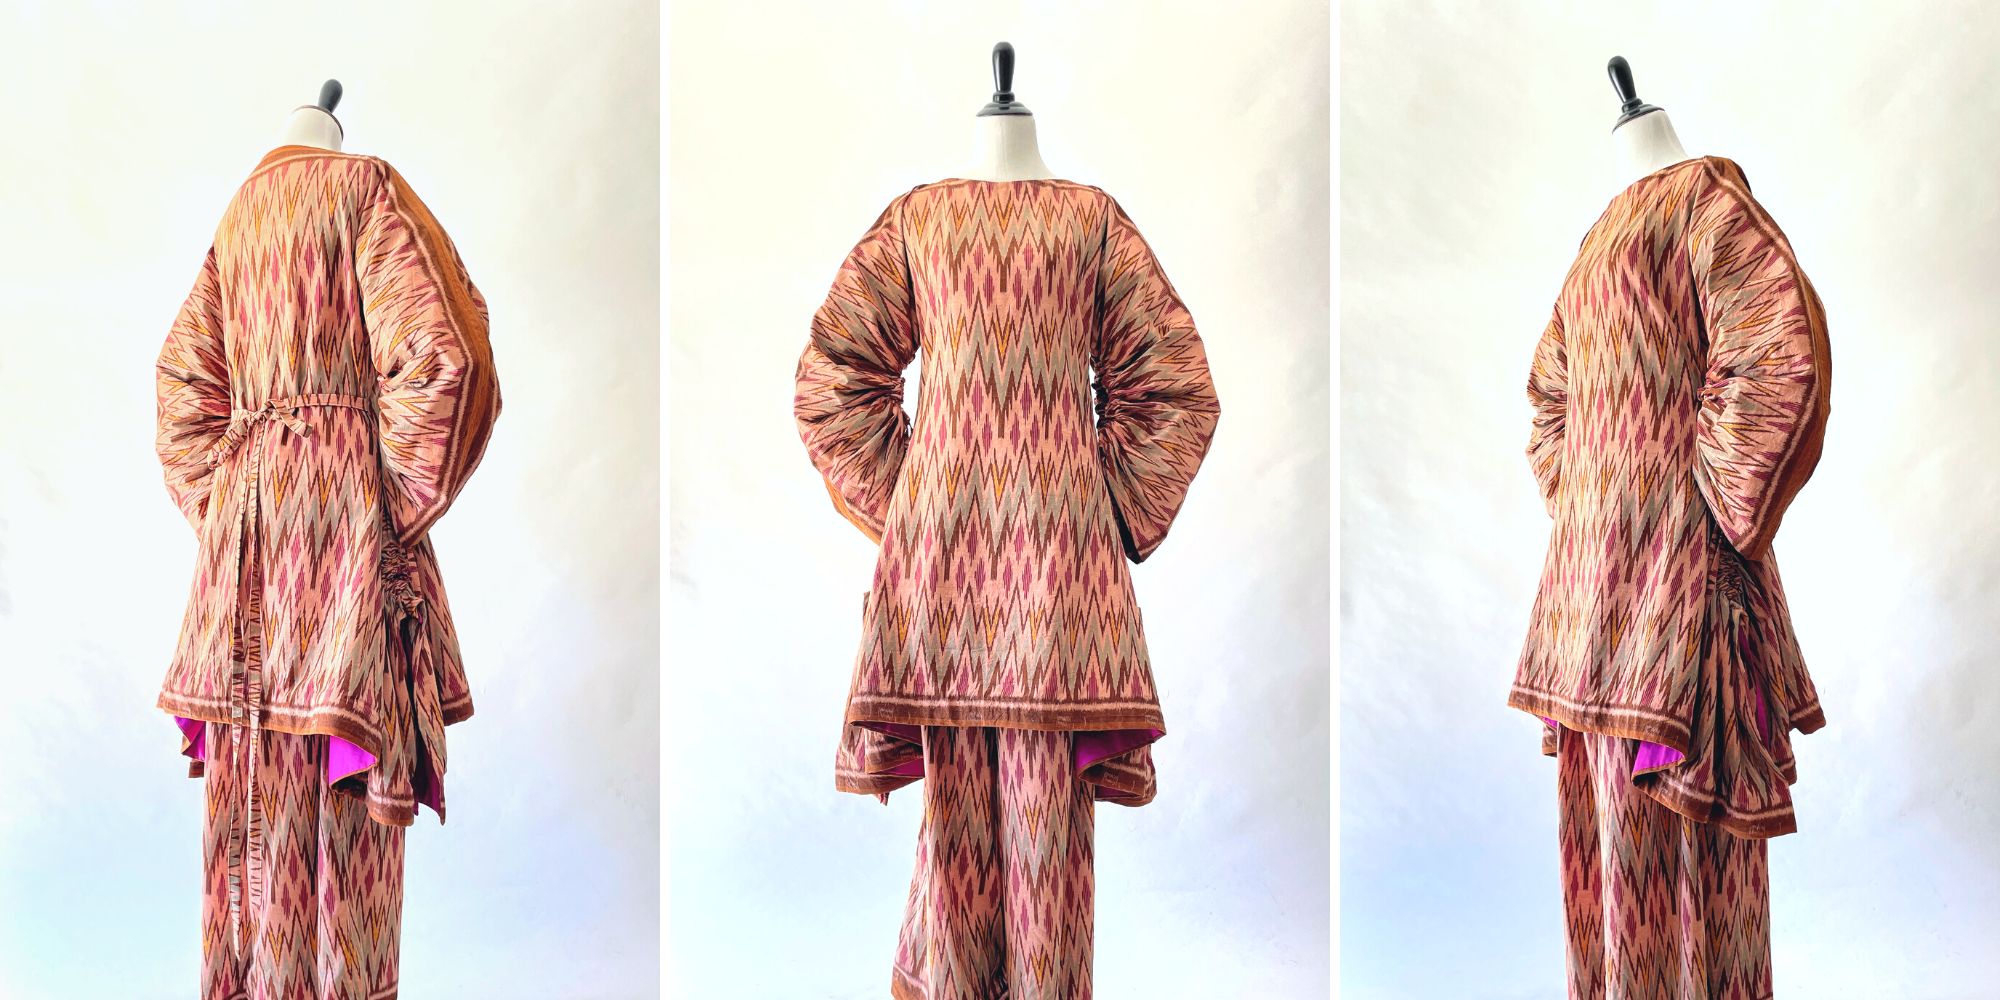
Interpreting Kebaya, Making a Modern Ethnic Ensemble
Modern Ethnic outfit is my interpretation of kebaya dressing. They are made using vintage ikat textile and inspired by several free minimal-waste patterns. Only on fafafoom.com.
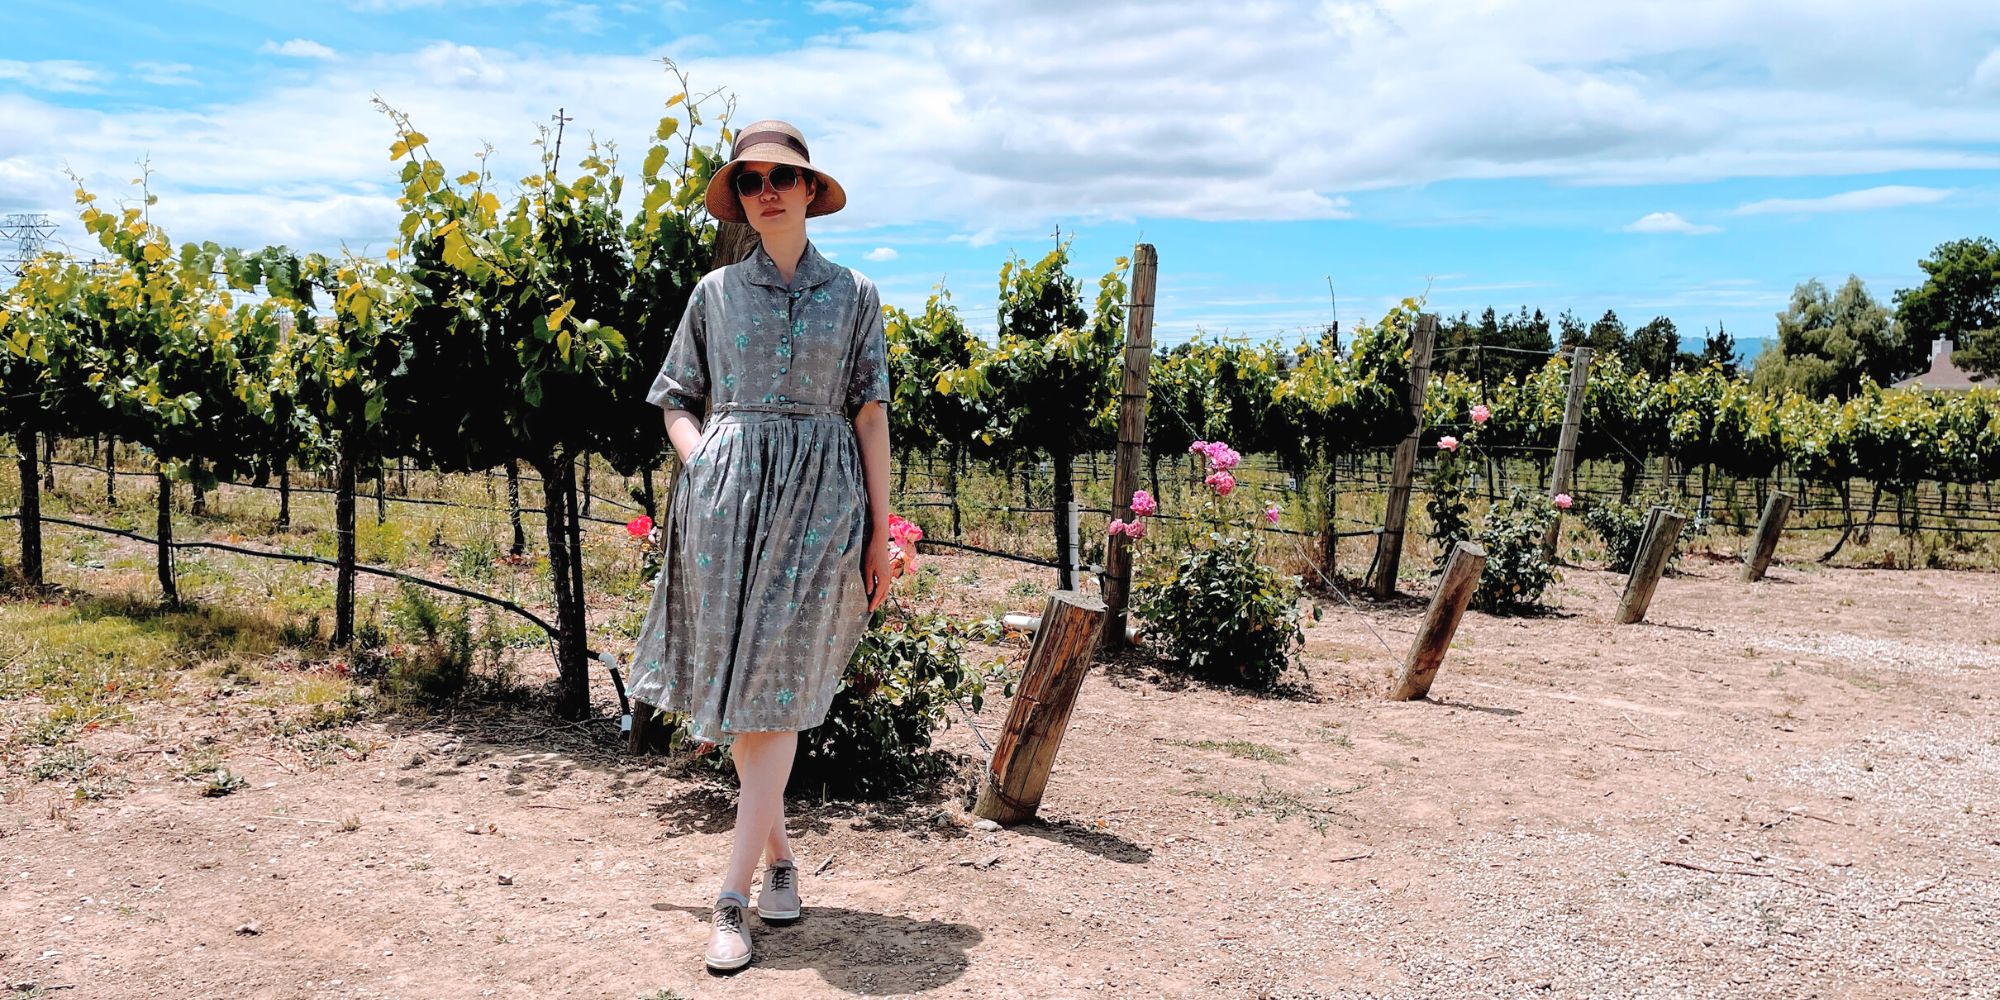
Restoring a 1950s Atomic Age Dress
Restoring and repairing a beautiful 1950s Dress for my summer 2022 wardrobe. Smart alterations include lining and inseam pockets. Only on fafafoom.com.
Pink Delight! Natural Dyeing with Camellia Flowers
My next experiment is dyeing with camellia flowers. Amongst all natural dyeing projects I have done so far, this is my favorite. Check out the pink delights! From fafafoom.com.
5 Slow Fashion Tips for a More Sustainable Wardrobe
Five slow fashion tips to help you transform your sustainable wardrobe for a cleaner, greener future. A guest feature from Reese Jones for Fafafoom.com.
Upcycling and Repairing Ideas for Garden Decor
The garden has become a special place, especially during Covid-19 pandemic. During shelter-in-place period, I made garden decors by upcycling locally sourced items.
Natural Dyeing with Japanese Maple Leaves: Notes from a First-timer
Notes from my first natural dyeing experiment with Japanese maple leaves in fall season. Three batches of dyeing using fallen leaves sourced from two different trees in the garden. So much to learn and enjoy afterwards.

I am going to use this for my wedding!!! Or at least make it and give it a looksie.
I’m glad you find it useful, Carla! Congrats for your wedding and have fun making the accessory :)