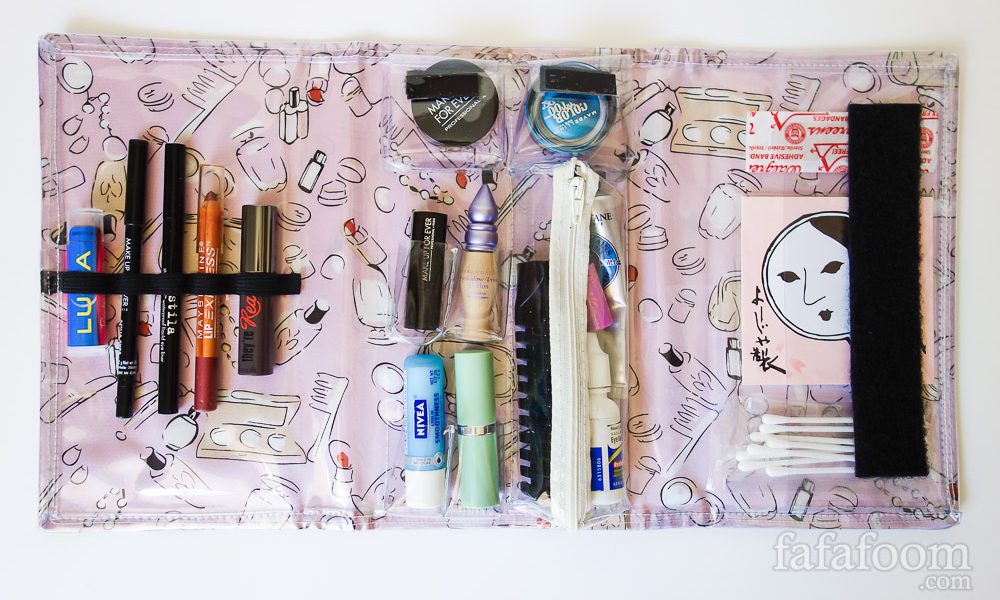
Tired of spending 2 – 10 seconds extra to get a lipstick, eye shadow, highlighter, etc from my makeup case, I decided to create my own on the go makeup case from scratch. My orange pencil case provided the perfect design inspiration, while a cosmetics-printed pink silk charmeuse fabric remnants provided the perfect print I want to showcase.
This DIY project (plus picture taking & editing, blog post making) was very demanding; it took me roughly 40+ hours. But I think it’s a good investment since the makeup case is so pretty, my makeup essentials are well-organized and secure, and I dig around no more!
On this post, I share my end-to-end process, pictures, various measurements, and pocket patterns (not to scale) in case you’d like to make one yourself!
Subscribe to my newsletter

Backstory
I lost count how many times I dug furiously inside my compact makeup case for that tiny black eyeliner or lip balm or cheeks highlighter. I looked at my transparent case one day and thought, ‘enough is enough.’

Then I glanced to my orange Nomadic PE-10 pencil case, one that’s been with me for about 7 years. I got it during the Germany leg of my Euro trip in 2007. It’s very sturdy, keeps my pens and pencils organized, and most importantly, keeps my Staedtler Mars eraser where it needs to be. Needless to say, I LOVE this pencil case.


Soon enough, I began sketching my new on the go DIY makeup case design (during a visit to a friend’s place, no less) using the pencil case design as the overall inspiration. I love its use of velcro and how it just lays out everything once it’s opened.
I also took inventory of my makeup essentials on my soon-to-be-retired case, and decided on the the various “pockets” based on this factor, along with things that I’d love to have on my case (such as a liquid eye liner).
Therefore this makeup case design is really personalized to what things I want on my makeup case.


I want to make the makeup case at least liquid resistant. Fortunately I have a transparent vinyl sheet that I previously bought for a skirt design I later scrapped.
But that’s not enough to get me started making this case…until I got this printed silk charmeuse at the remnants section of Berkeley’s Stonemountain & Daughter fabric store.
That’s it! Let’s get started!

DIY Travel Makeup Case Table of Content
For your reading convenience, I create this “Table of Content” so you can skip and jump through sections, as well as go back to this part by clicking “Back to Table of Content” at the end of each sections.
Preparations
This is my list of materials:
- transparent vinyl (to make 2 base sheets, pockets, and bias tape)
- printed fabric (mine happens to be silk charmeuse)
- velcro
- buckram (3 pieces of 23cm x 12cm)
- needle and thread (LOTS of hand-stitching required)
- tracing paper
- scotch tape
- 1/4-inch double-sided tape (I used Wonder Tape)
- masking tape (optional)
- pencil, ruler, and eraser
- clothespins (to clamp things together)
- sewing machine (preferably a strong, professional one. Mine is Brother CS6000i model) but it’s not strong enough. I’ll explain why during the later steps)
This is the breakdown of layers that become my DIY makeup case:

Mental preparation:
This is DEFINITELY my most difficult DIY project up-to-date. From the fabrics side, vinyl and silk are non-forgiving materials; a mistake and it’s going to “scar” forever.
I also needed to be very precise, patient, and kind to myself whenever mistakes are made. I poked my finger tips countless times, made so many mistakes along the way and had to redo / change tactics several times, and it’s alright, they are all part of the learning process.
Even my Brother sewing machine failed me when I tried to sew through 9 layers and I had to rotate the wheel manually to get things done. It took me 40 hours.
I can gladly justify the time spent, but you might want to just buy something available out there and call it a day. I think this post will serve more as an inspiration than anything else. But just in case you want to make something similar, I included all of my steps here.
If you’re familiar with the up-and-down mood cycle of doing sewing projects, this mental preparation is familiar.
Making Process
1. Making the Inner Layer’s Vinyl Base
For DIY projects that call for precision like this, I decided to do it with metric measurements. I have to be very detailed in making all of the pockets, so all of the patterns (not to scale) I share here is noted in cm.
Here’s the measurements breakdown for the vinyl base inner layer:

I started with creating a pattern of the vinyl base inner layer on a piece of tracing paper and taped it to a transparent vinyl.
After cutting it, I had a nice base like below:

a. The Middle Section
I started with the middle section since it’s where the majority of the pockets are, and creating them require a certain level of patience and perseverance on the get-go. The other sections were notably much easier compared to this main one.
– Making Pockets A & B
You saw that there are four different pockets I created: two of Pocket A, two of Pocket B, and one each of Pockets C and D.
Let’s start with the first two pockets. Here are the pattern measurements:

And just like with the base, I created the patterns on a tracing paper first, then scotch taped it to a transparent vinyl in several places before cutting and folding then according to the folding lines.
The white cardboard pieces on below pictures were my “prototype” of the pockets :)
Also note that the closure part of what I ended up making differ slightly from the original pattern. It’s just a personal choice, you can do either way.


Attaching the two parts of Pocket B was rather challenging, but it’s doable. The seam allowance was tiny (0.25 cm) and you might want to angle your needle in certain ways to get around the corner part when hand stitching, but be patient and you’ll end up with two 2-in-1 pockets sooner or later.

After you’re done making pockets A & B, you can peel off the scotch tapes that held the tracing paper and vinyl together. You’ll notice some sticky residue mark (see below), but they’re easily removable by rubbing them gently with your fingers and/or a bit of hand soap.

At this point, you have two Pocket As and two Pocket Bs. They almost looked like pockets except that they’re not stitched to the base layer yet. Great. On to the rest of the pockets!
– Making Pocket C
Here’s the pattern measurements:

Basically, I was creating a half-circle pocket. Same steps as before for measuring and cutting the pattern pieces (tracing paper, pencil, and ruler were my best friends for this project).
Then I took one rectangular piece and stitched one one quarter circle piece for each ends. I did the same to the remaining pieces. The zipper was something I added later.

– Stitching pockets A,B,C to the base layer
This is when I put all of those pockets on top of the base layer. Sorry Pocket C’s pieces were rather hard to see, but they’re there:

When I stitched the pockets to the base layer, I stitched through the tracing paper on the base layer. This is so that my precision did not suffer. Plus I easily tore off the tracing paper later on.


Moreover, for over / under seams, I tucked them in so the 0.25 cm width is not visible. For side seams, I left them untucked.
Hopefully you understand my points by looking at the two pictures below:


This was the state of the middle section when I was done with it:

Yay! The most difficult section is 95% done! The other 5% is the zipper, which I added later.
b. The Right Section
The right section is a breeze compared to the middle. Basically you’re creating an open side pocket with 0.25 cm height, and slap some velcro loops on top of it.
– Making Pocket D
Here’s the measurement for Pocket D:


When I sew Pocket D onto the base layer, I put some masking tape all around the base layer so I did not go “off limits”. The 0.25 height is rather tricky, but stick with your folding lines and you’ll be golden.
At this point, I made an impulsive decision to also add reinforcement hand-stitching for the velcro loops and Pocket D. It wasn’t fun. But I think I made the right call.


c. The Left Section
The left section is, in my opinion, the easiest section. Basically you’re making some elastic waves on the base layer.
This is the measurements:

I made the vertical marks on the back of the tracing paper, and after some relatively quick hand stitching, the elastics were put in place.
At this point, I also set velcro on Pocket As so they can be opened and closed (no reinforcement stitching). I also lined the finished vinyl base with masking tape to mark the buckram placement later.


Again, I created the pattern on a piece of tracing paper, then taped it on the vinyl and cut it. I aligned it with the inner layer to make sure the overall measurement and velcro hooks placement matched.
Once again, I added reinforcement hand-stitching to the velcro hooks. Painful, but worth it.
3. Layering Printed Silk Charmeuse on vinyl bases
On paper, the steps are simple: Cut the fabric in two pieces (one for each base layers), giving an extra 2cm on all sides.
Then stitch together one pair of vinyl base (don’t forget to tear off the tracing paper) and fabric (right side facing the vinyl) with sewing machine.
Repeat for the other base.


The problem is silk charmeuse is VERY slippery…and I started to run out of tracing paper (to help stabilize the fabric). Plus, I learned later on that your needle has to be super sharp so that the silk does not scar. I had quite a few of setbacks in this step, but eventually I made it out alive with some hand stitches. Phew!
Looking back, I’m really happy to have a learning experience with silk charmeuse. But if I’m doing again, I certainly won’t pick fabric this difficult. Leather, wool, or even cotton blend will do just fine. That being said, I fell in love so hard with this cosmetic prints, so it’s all worth it!
4. Adding Zipper on the inner layer’s vinyl base
This is when I decided to sew the zipper on Pocket C. Soldiering through the bias taping stage was rather challenging with the zipper being there.
As you see from the pictures below, I reduced the width of the zipper just a tad because I thought the zipper looked a bit too wide as-is.
5. Adding Buckram and Wonder Tape
We’re almost there! It’s now time to add some buckram pieces to the back of the left, middle, and right section of the inner layer’s now-clothed-in-silk vinyl base.
I actually stitched the buckram through several sections of the vinyl base, making sure they’re going through existing stitch holes rather than making new ones. It’s pretty tough since buckram is stiff.


Then to deal with the almost-fraying fabric edges, I trimmed the edges and used 1/4-inch Wonder Tape to tuck the edges in, using the vinyl edge as guideline.

6. Stacking all the Layers Together
At this point, I needed to create a long bias tape for finishing touch, so I carefully aligned the inner and outer layers together, making sure there were no untucked silk edges or buckram sticking out, and pinned them with a horde of clothespins.
I also did a final check of the velcro placements of the inner and outer vinyl bases. Thank God they matched!
7. Finishing up with Vinyl Bias Tape
The circumference of the DIY makeup case is 134 cm (44*2 + 23*2), and fortunately, my vinyl sheet’s length was barely enough to make a double folded bias tape with 1 cm width. In other words, I cut a 136 cm x 4 cm vinyl to make this bias tape just so that the bias tape can overlap just a little bit.
Then I started to envelop the edges of the makeup case, starting from below the elastics on the left section, all the way around. I had to wrestle a little bit for the corners, but they’re alright. The clothespins were such great helpers keeping them all together!


I also made a short piece of double sided bias tape for testing. I needed to know where I should put down my sewing machine needle, right?

The moment of truth: sewing all the layers together (9 layers total) with my sewing machine. Two seconds in and my Brother sewing machine just refused. Good Lord. What did I do?
I continued by manually turning the hand wheel carefully, rotation after rotation, all the way around. No foot pedal. I remember my heart was racing madly, my left hand was cold as it did its best to make sure the lines were straight while removing the clothespins along the way as my right hand kept turning.
After the bias tape was all sewed up, I had to do some more fixes. Tugging and fastening some loose thread sections. And….DONE! Woohoo!!!!


All in all, this DIY makeup case is a big hit with my friends. I was really surprised and pleased. This makeup case is such a conversation-starter during recent gatherings; a student designer whose work I love was impressed.
Some friends asked me to manufacture and sell it. One called it a “makeup first aid kit”. Some asked me to create one for brushes.
So many thoughtful feedback I received from people I met so far; I’m curious to know what you think! Please let me know on the comments section below.

Thanks for reading; until next time,
Musank
Disclaimer: I may earn a small commission for my endorsement, recommendation, testimonial, and/or link to any products or services from this website. Thank you for your support!
Never Miss a Post
Enter your email below to receive the latest Fafafoom Studio post in your inbox.
Browse more posts
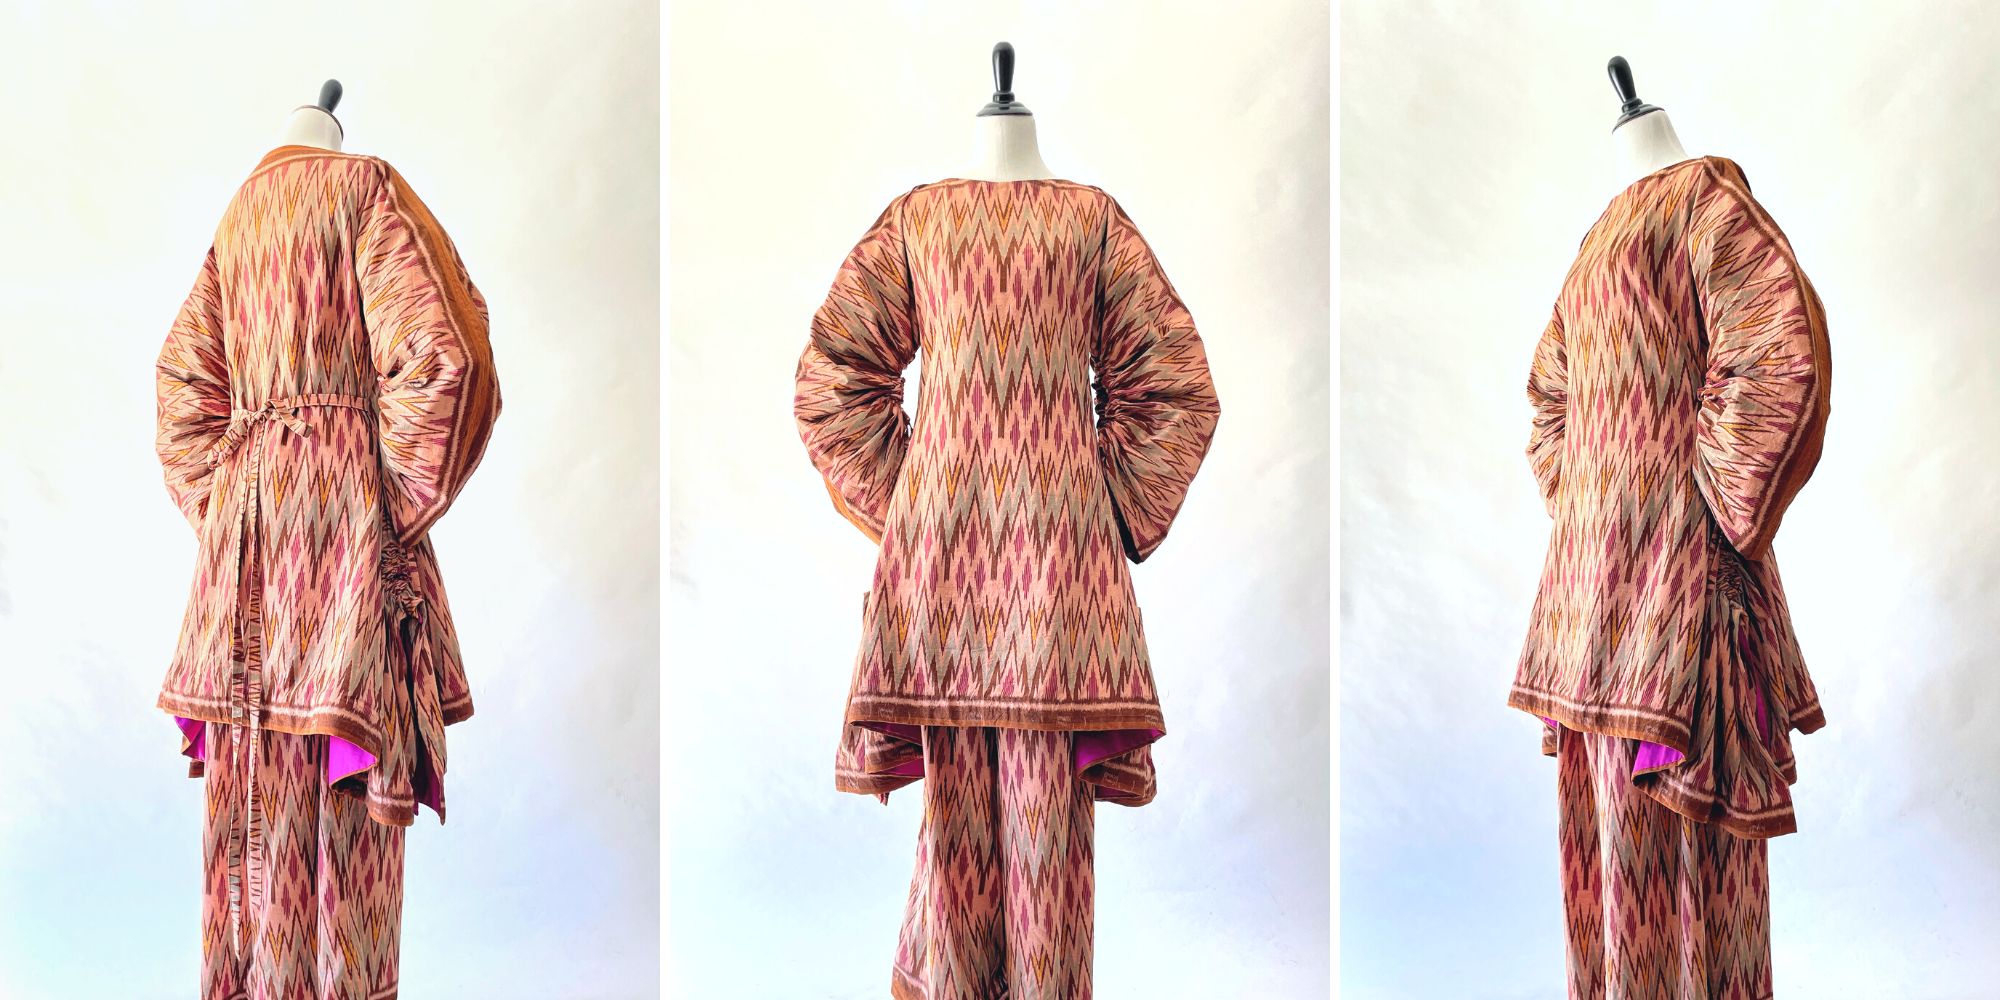
Interpreting Kebaya, Making a Modern Ethnic Ensemble
Modern Ethnic outfit is my interpretation of kebaya dressing. They are made using vintage ikat textile and inspired by several free minimal-waste patterns. Only on fafafoom.com.
5 Slow Fashion Tips for a More Sustainable Wardrobe
Five slow fashion tips to help you transform your sustainable wardrobe for a cleaner, greener future. A guest feature from Reese Jones for Fafafoom.com.
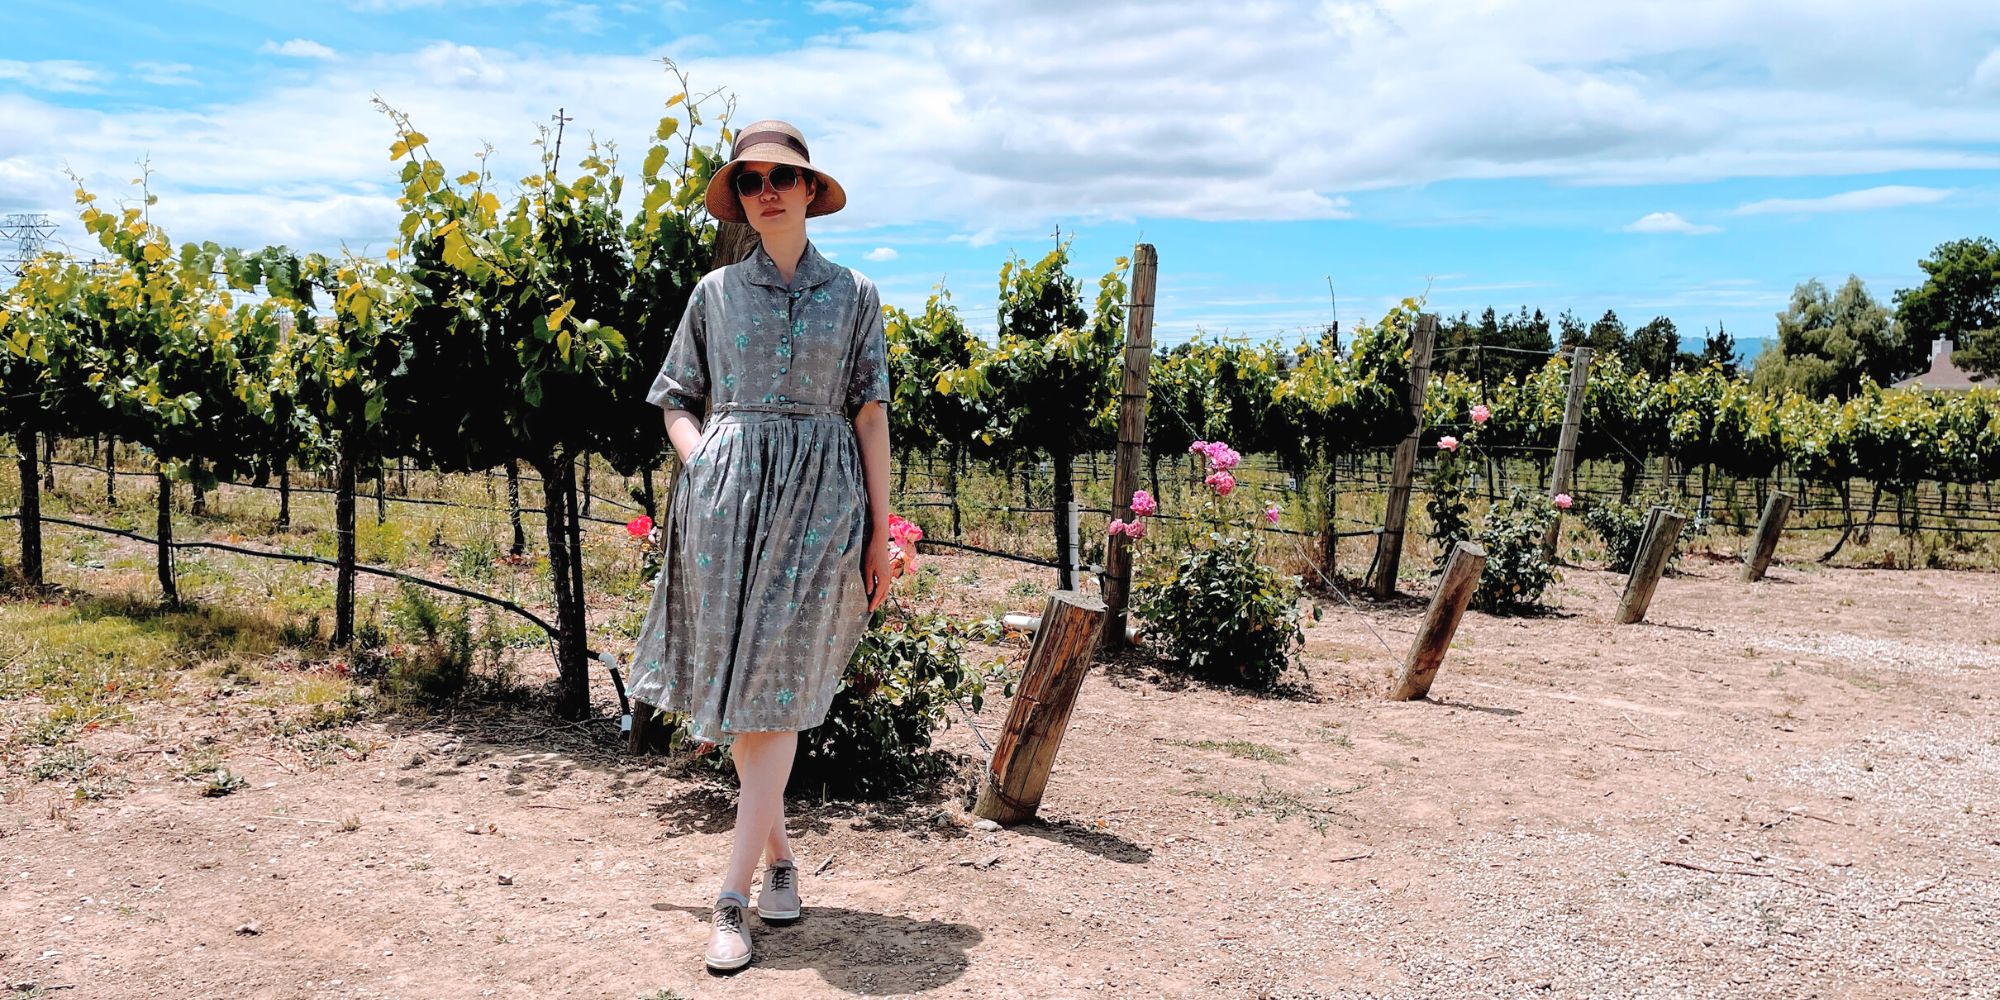
Restoring a 1950s Atomic Age Dress
Restoring and repairing a beautiful 1950s Dress for my summer 2022 wardrobe. Smart alterations include lining and inseam pockets. Only on fafafoom.com.
Upcycling and Repairing Ideas for Garden Decor
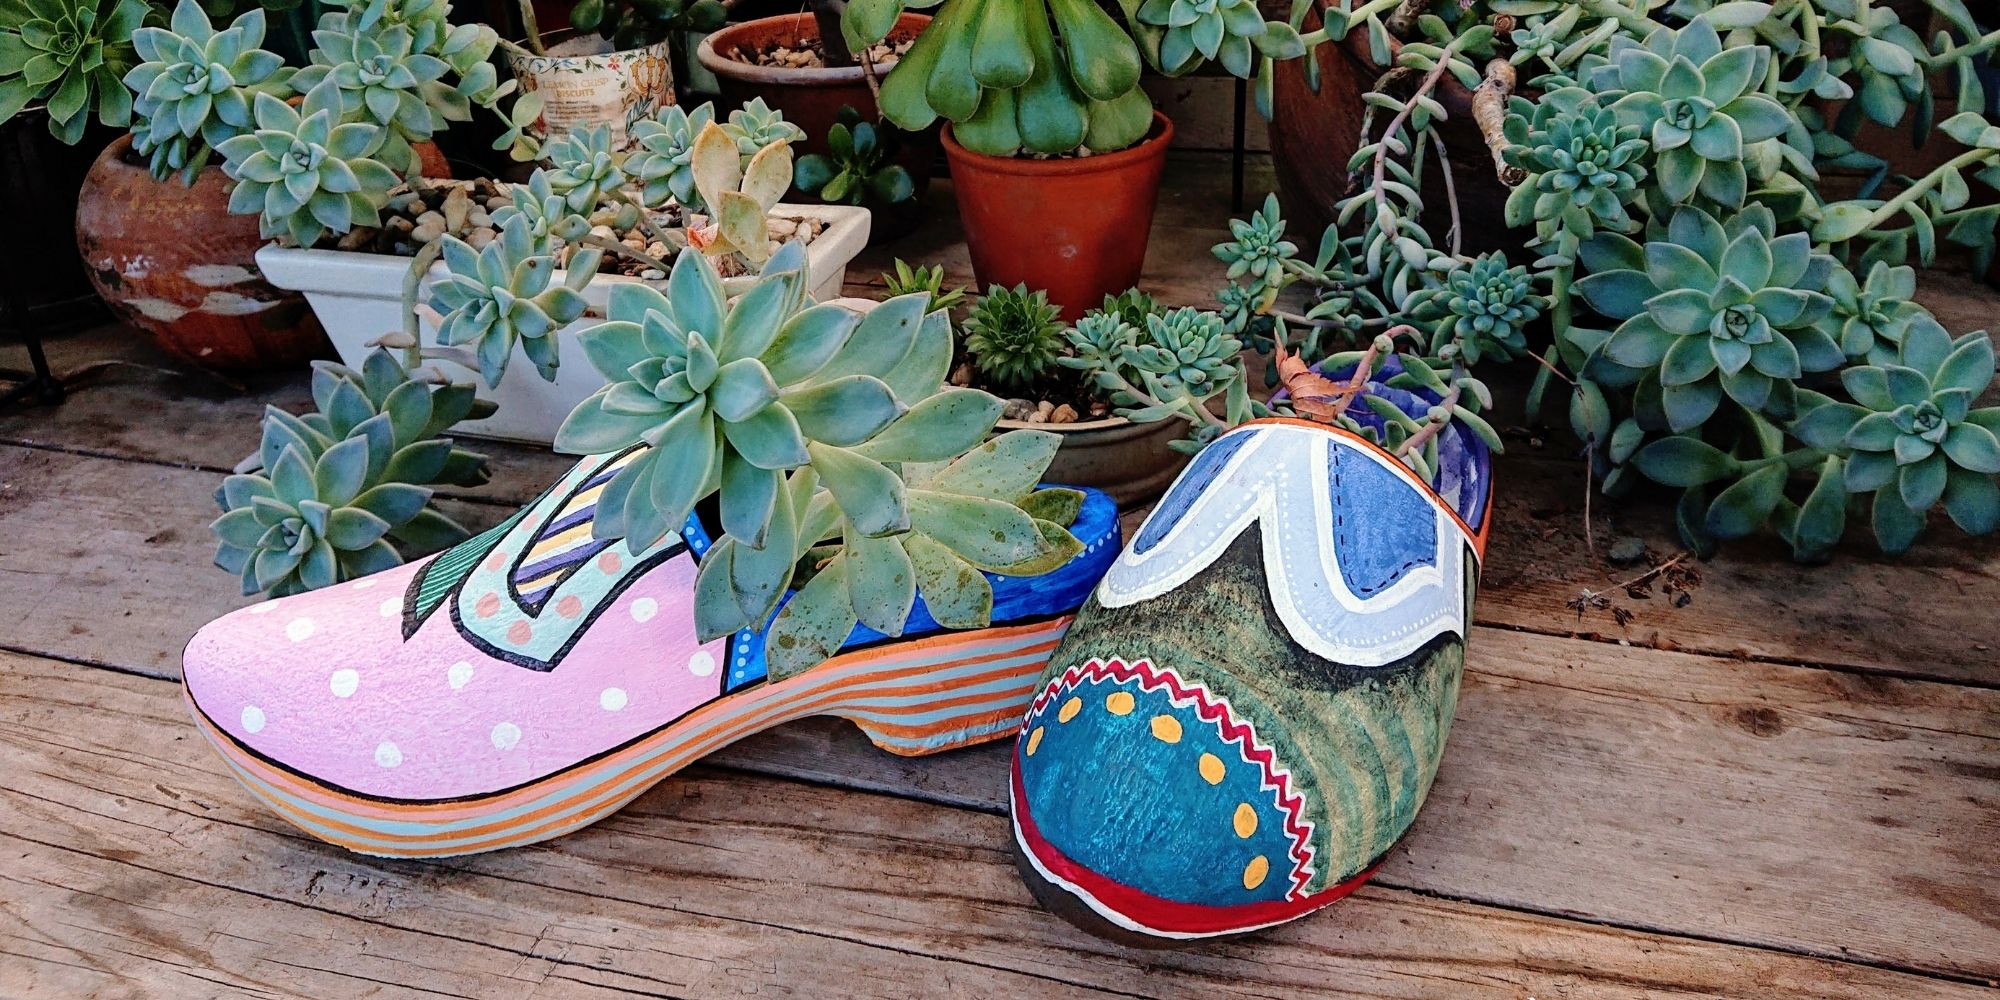
The garden has become a special place, especially during Covid-19 pandemic. During shelter-in-place period, I made garden decors by upcycling locally sourced items.
Pink Delight! Natural Dyeing with Camellia Flowers
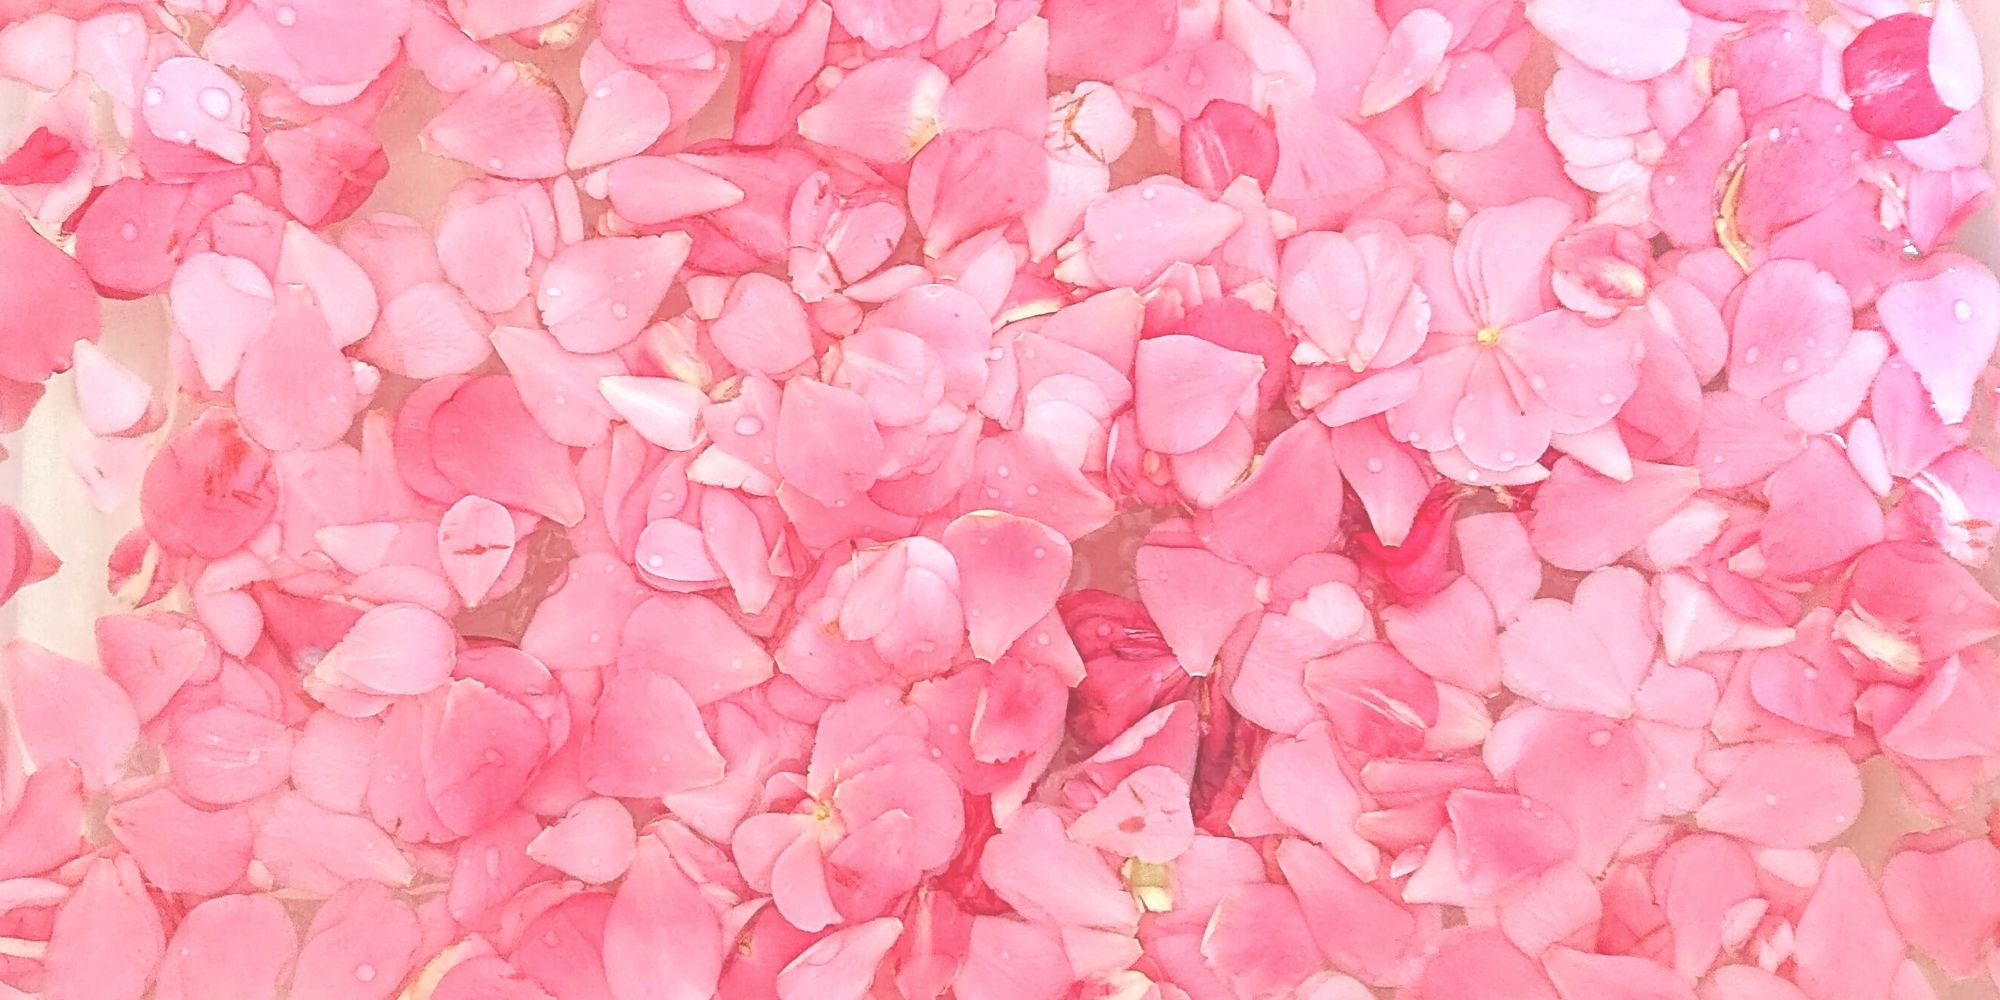
My next experiment is dyeing with camellia flowers. Amongst all natural dyeing projects I have done so far, this is my favorite. Check out the pink delights! From fafafoom.com.
Natural Dyeing with Japanese Maple Leaves: Notes from a First-timer
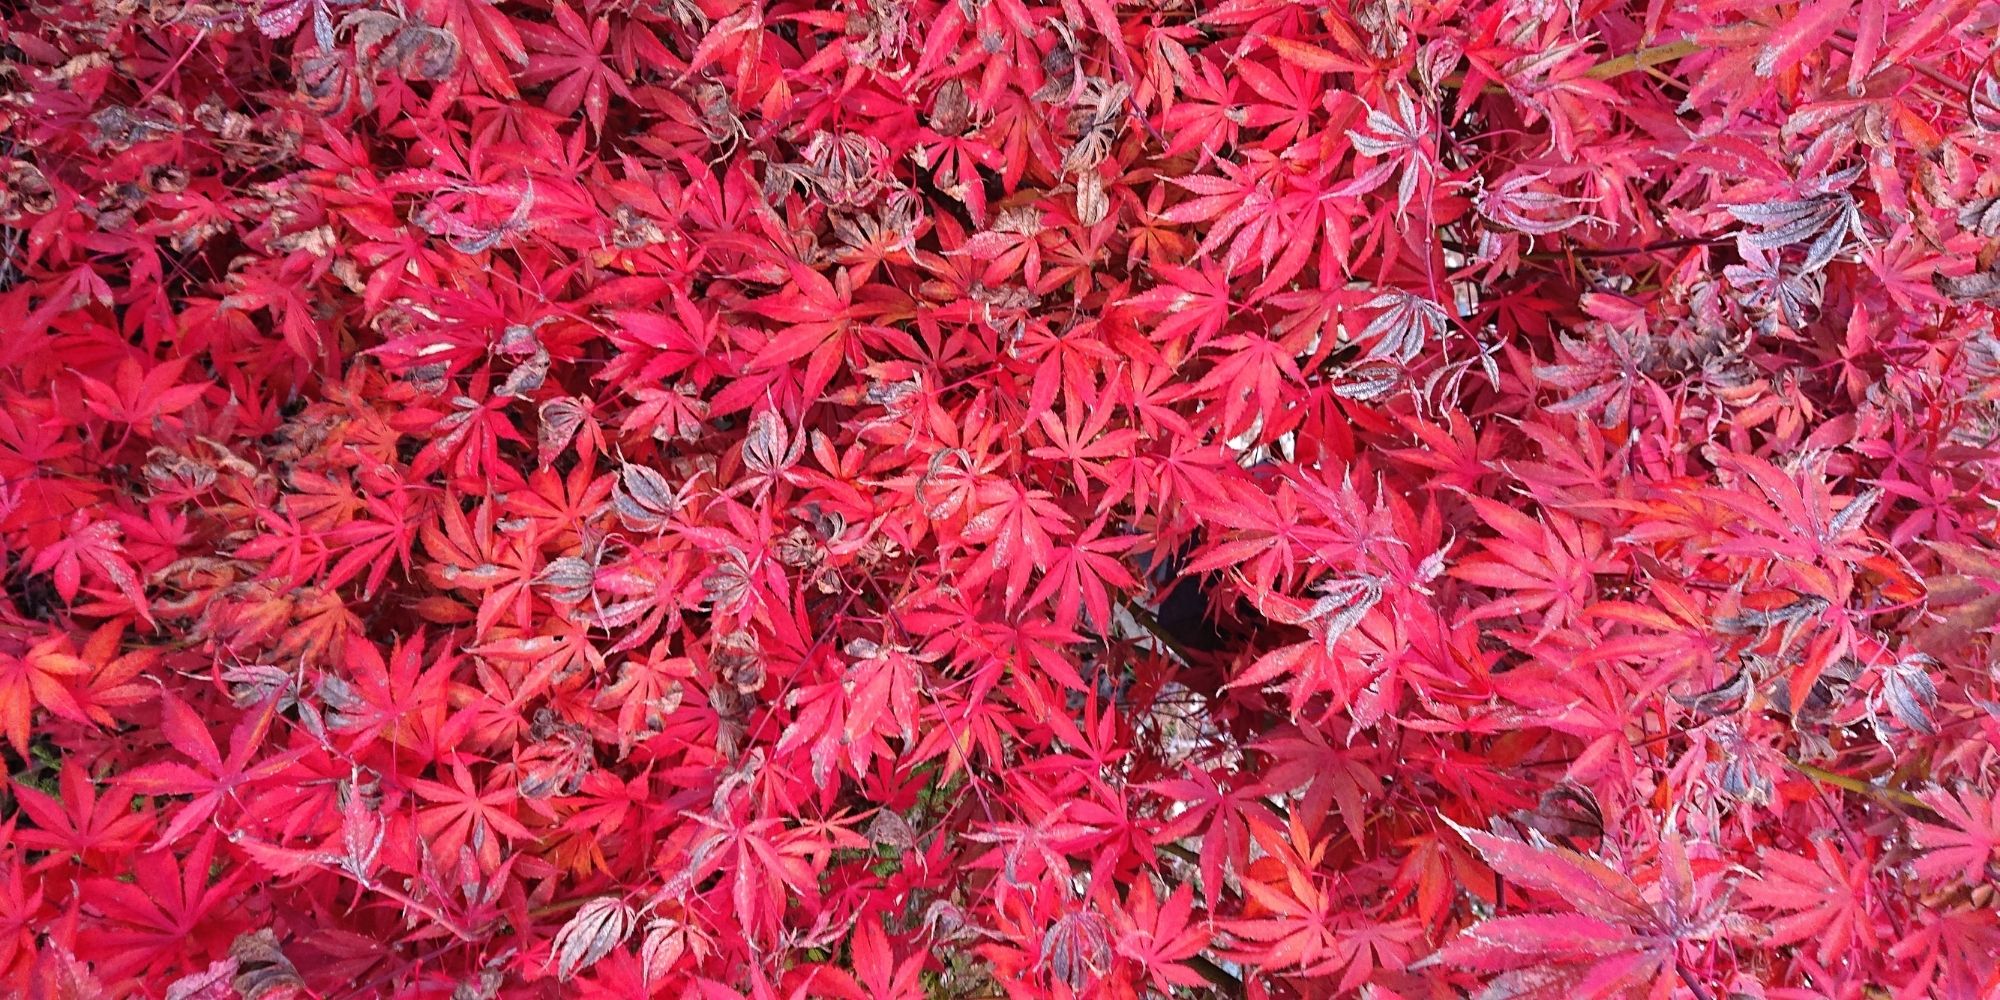
Notes from my first natural dyeing experiment with Japanese maple leaves in fall season. Three batches of dyeing using fallen leaves sourced from two different trees in the garden. So much to learn and enjoy afterwards.

Trackbacks/Pingbacks