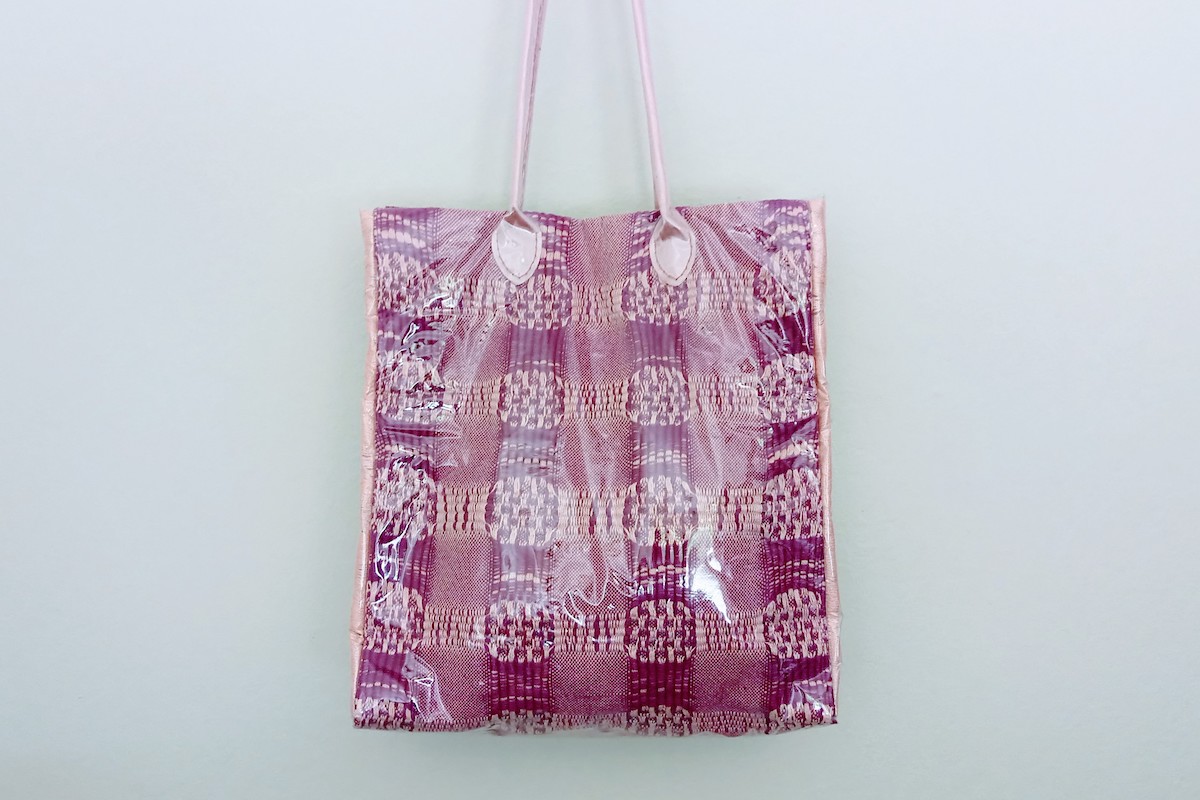
I learned how to weave with a floor loom recently. I’m really happy with my latest woven piece , so I made a handwoven tote bag with clear vinyl cover.
Exploring surface design applications and taking an online fundamentals of textile course led me to taking floor loom weaving classes with Lou Grantham at SF Fiber, Oakland. She’s an amazing and inspiring teacher, and it’s really a privilege to learn from her.
On my latest weaving project, I explored textures and shapes in more depth. Lou suggested an advanced pattern called “Cat’s Track” that she learned from a weaving convention in the past.
After a few days of weaving, the result is quite beautiful, perfect to be transformed into a handwoven tote bag. The vinyl covering is added to protect the textile and make the bag water resistant. Finishing touches like handmade bag handles and magnet clasp fastening complete this project.
Subscribe to my newsletter

DIY Handwoven Tote Materials:
- Two spools of 6/2 unmercerized cotton yarn – for floor loom weaving
- Medium-weight clear vinyl sheets – for covering and lining
- Nylon cord, white cotton remnant, and pink polyester fabric remnants – for bag handles
- Weft interfacing remnant
- Magnet clasp
- Sewing machine (mine is Brother CS6000i model)
- Ivory threads, plus sewing needle (I used Schmetz Universal Needle Size 80/12)
- Clothespins and dressmaker pins

Process Overview:
While I cannot succinctly describe the floor weaving steps, I can say with delightful confidence that it was a such a treat to create this textile. As previously mentioned, Lou Grantham at SF Fiber, Oakland is a great teacher and I felt so lucky to learn from her.
After various calculations – from yarn thickness and length to the finished textile’s measurements – were done, I weaved the yarns into an approximately 16″ wide textile, 2 yards long. The finished textile later shrinks to 12.5″ wide after hand washing.
The weaving was done on a 6-pedal floor loom over the course of 4 weeks, 3-4 hours each time.


Making the woven tote body
Once the woven textile was dry, I sandwiched the finished textile between two layers of clear vinyl and secured them with clothespins.
Then I sewed the edges using a longer-than-usual stitch length (3.5 mm instead of the default 2.5 mm). I made sure to “catch” some of the woven textiles on the sides so that the finished tote is more durable.
The sewing went around all four sides of the woven piece. About 2 – 3 in. of the long warp yarns were encased inside the clear vinyl.


Next step was creating the bag’s side gusset pieces. I cut the excess warp yarns and sandwiched them between two layers of vinyl.


I pinned them sparsely with dressmaker pins on the center before sewing them.


I marked each of the two gusset’s side seams with masking tape this time. After all, I wanted to avoid scarring the clear vinyls as much as possible!

Once all the main pieces were done, I sew them together. The warp yarn gussets were sewed along the sides of the long woven textile. Once again, I used a longer-than-usual stitch length.
One more thing (not pictured): I hand sewn a magnetic clasp near the bag opening on the inside.


Making bag handles
Once the main tote was done, what’s left was to create bag handles. I measured how long I wanted my handles to be, plus the petal-like end points that are modeled after one of my unused leather bag handles.
First, I created two braided nylon cords and encased them in white cotton remnant.

The whole thing was then encased in a pink polyester satin remnant, which I fused with a weft interfacing.


That was then encased in clear vinyl and pricked with pins in places, similar to how my leather bag handle is.

That’s all for ONE bag handle. I repeated the whole thing to create the second one. By the way, feel free to ask me of step clarifications on the comment section!
Finishing the woven tote bag
Once the bag handles were ready, I hand sew the bag handles onto the tote bag! I had to temporarily tied the two bag handles because they were flapping around like crazy.
It’s a slow process and it’s definitely not perfect, but the resulting tote bag looked quite good!


Result: Handwoven Tote Bag with Vinyl Cover
So here’s what the finished tote bag look like! It’s quite a time consuming project, but I’m really proud of the result.
I acknowledged the final constructions weren’t the best, and the bag might be less durable than I originally intended. That said, I would definitely start using this tote bag for sewing and craft supply shopping trips!


Special thanks to Lou Grantham for her knowledge and wisdom. The studio classes are always productive and fun; I learned a great deal and I’d love love love to do more floor loom weaving projects!
Thanks for reading; until next time,
Musank
Disclaimer: I may earn a small commission for my endorsement, recommendation, testimonial, and/or link to any products or services from this website. Thank you for your support!
Never Miss a Post
Enter your email below to receive the latest Fafafoom Studio post in your inbox.
Browse more posts
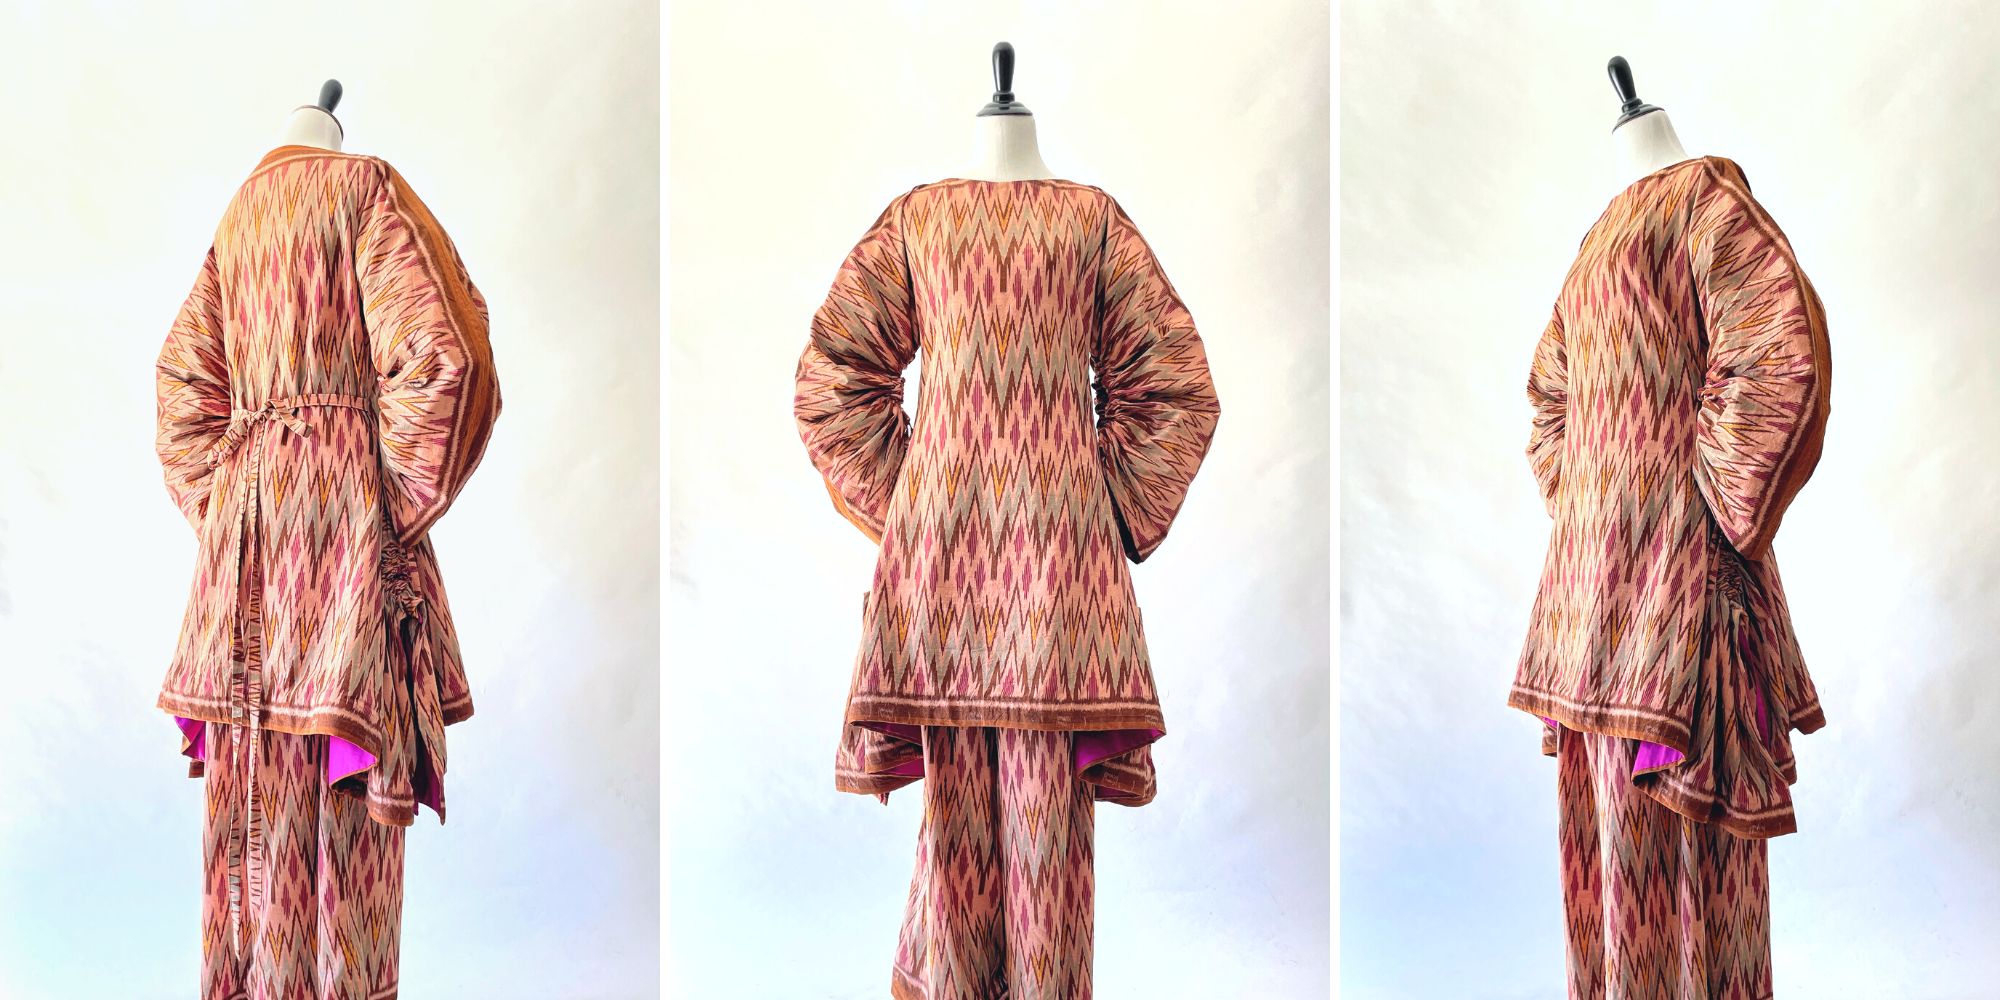
Interpreting Kebaya, Making a Modern Ethnic Ensemble
Modern Ethnic outfit is my interpretation of kebaya dressing. They are made using vintage ikat textile and inspired by several free minimal-waste patterns. Only on fafafoom.com.
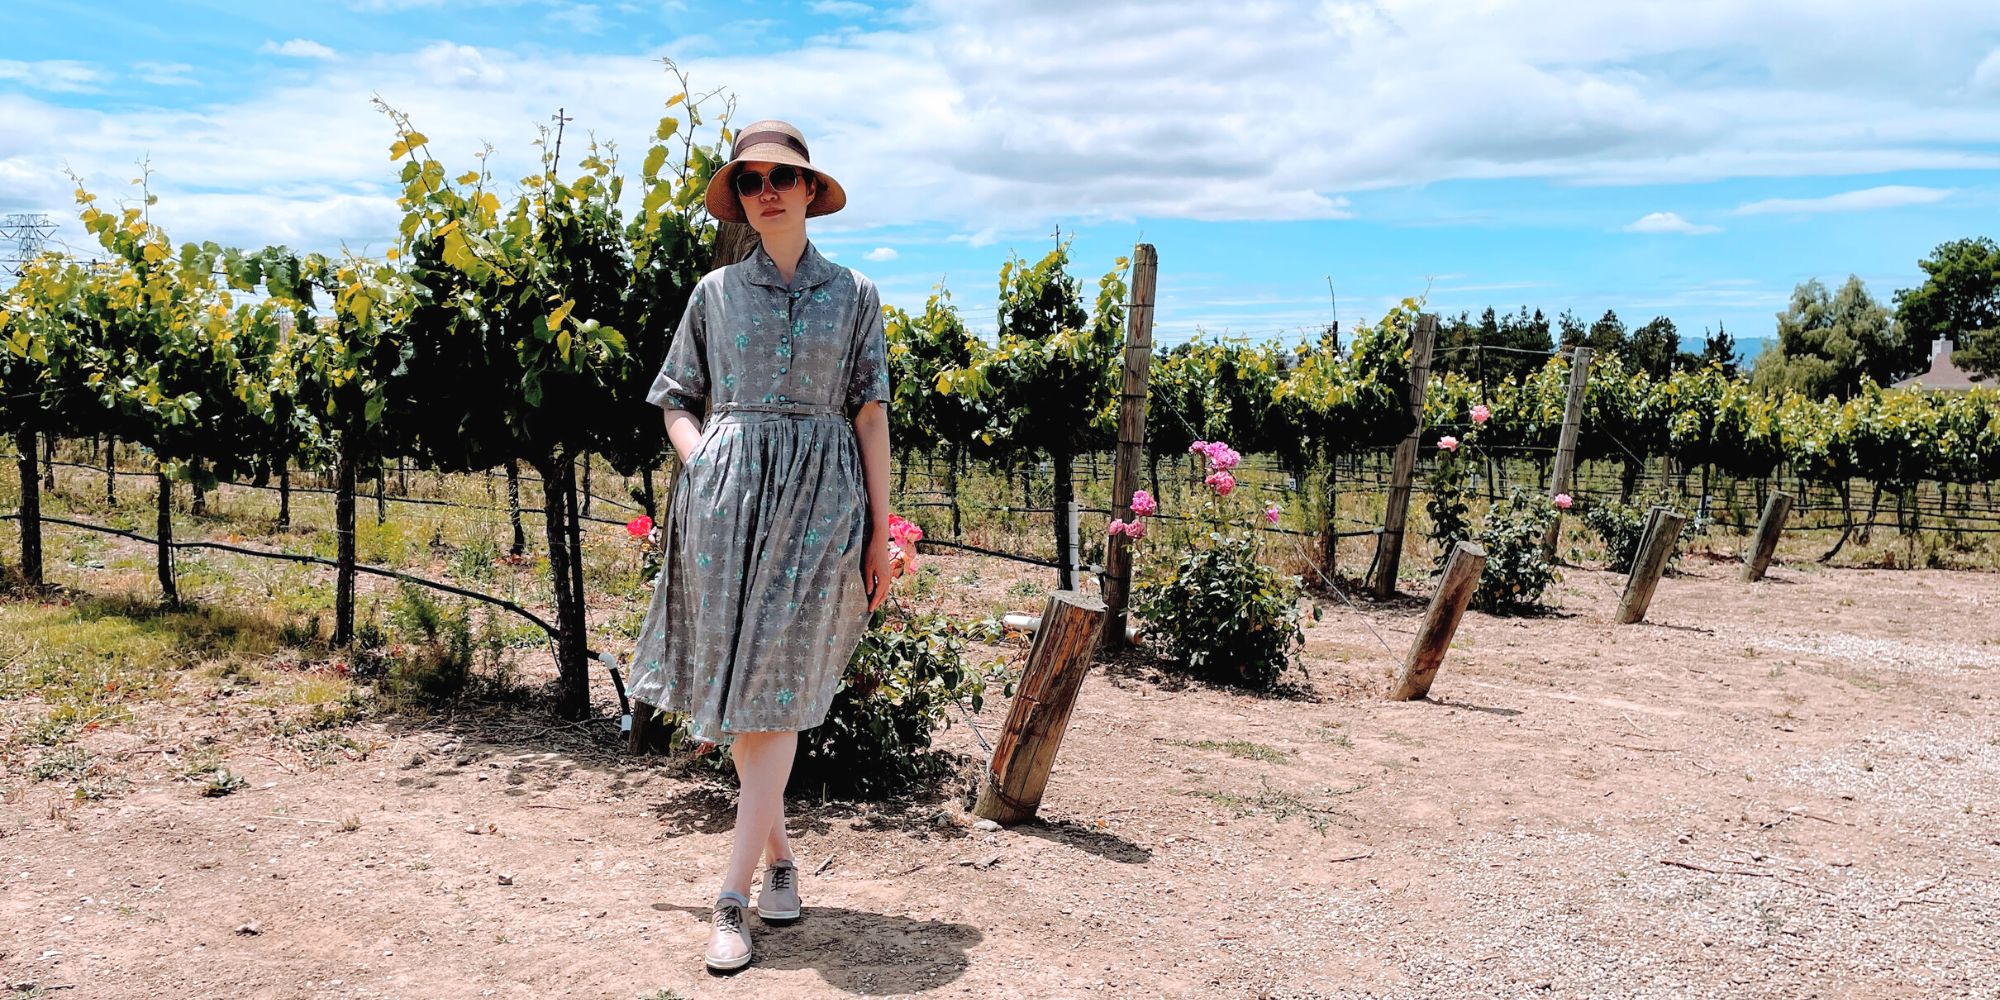
Restoring a 1950s Atomic Age Dress
Restoring and repairing a beautiful 1950s Dress for my summer 2022 wardrobe. Smart alterations include lining and inseam pockets. Only on fafafoom.com.
Pink Delight! Natural Dyeing with Camellia Flowers
My next experiment is dyeing with camellia flowers. Amongst all natural dyeing projects I have done so far, this is my favorite. Check out the pink delights! From fafafoom.com.
5 Slow Fashion Tips for a More Sustainable Wardrobe
Five slow fashion tips to help you transform your sustainable wardrobe for a cleaner, greener future. A guest feature from Reese Jones for Fafafoom.com.
Upcycling and Repairing Ideas for Garden Decor
The garden has become a special place, especially during Covid-19 pandemic. During shelter-in-place period, I made garden decors by upcycling locally sourced items.
Natural Dyeing with Japanese Maple Leaves: Notes from a First-timer
Notes from my first natural dyeing experiment with Japanese maple leaves in fall season. Three batches of dyeing using fallen leaves sourced from two different trees in the garden. So much to learn and enjoy afterwards.

